A Complete Guide on How to Record Twitch Streams

Twitch is the go-to platform for gamers, creators, musicians, and fans of live entertainment. From adrenaline-pumping eSports tournaments to cozy late-night chats, it offers something for everyone. But unlike traditional video platforms, Twitch content is often fleeting — regular broadcasts are deleted after just 14 days (or 60 for Partners and Turbo users).
Want to save a stream on Twitch forever, relive an unforgettable gaming moment, or keep a copy of your own live broadcast? The solution is simple: record the Twitch stream.
In this guide, we’ll show you exactly how to record Twitch streams, whether you’re the streamer or a viewer. But before hitting record, there’s one important question to tackle.
1. Is It Illegal to Record a Twitch Stream?
The short answer? It depends on who owns the content and how you use the recording.
✅ Recording Your Own Streams
If you’re streaming your own gameplay or content, recording it is absolutely legal and even encouraged. It allows you to repurpose clips for YouTube, create highlight reels, or save broadcasts long-term.
⚠️ Recording Other People’s Streams
Here’s where things get tricky. Twitch doesn’t offer a built-in feature to download someone else’s stream unless the creator has enabled past broadcasts (VODs). Recording their stream using third-party tools for personal use usually falls into a legal gray area. However, be careful — using someone else’s stream without permission can go against Twitch’s policies and might even violate copyright law.
2. How to Record on Twitch?
Whether you’re a Twitch creator or a fan, there are tools for everyone – from advanced desktop software to lightweight screen recorders, now let’s break it down by use case.
2.1 How to Record Your Own Twitch Streams
Recording your own stream while broadcasting is straightforward with professional streaming tools like OBS Studio, Streamlabs, or even Twitch’s built-in VOD option.
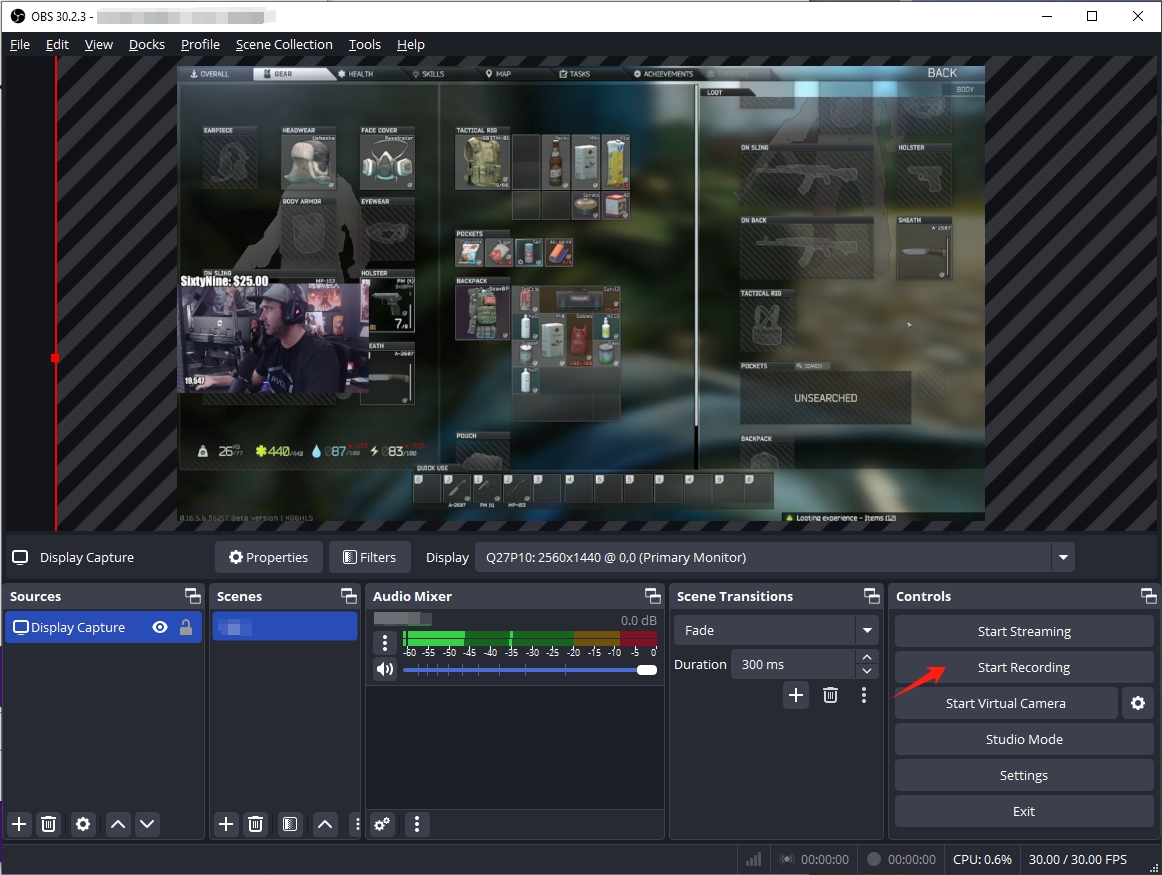
A. OBS Studio (Free and Open Source)
OBS Studio is one of the most popular tools for both streaming and recording.
Steps:
- Download OBS Studio from the official site, install and launch it, then set up a Scene with sources (Game Capture, Webcam, Mic, etc.).
- Go to Settings > Output > Recording, and configure record format, quality and save location.
- Hit Start Streaming and Start Recording — OBS does both simultaneously.
- Your recorded video will be saved locally for editing or uploading later.
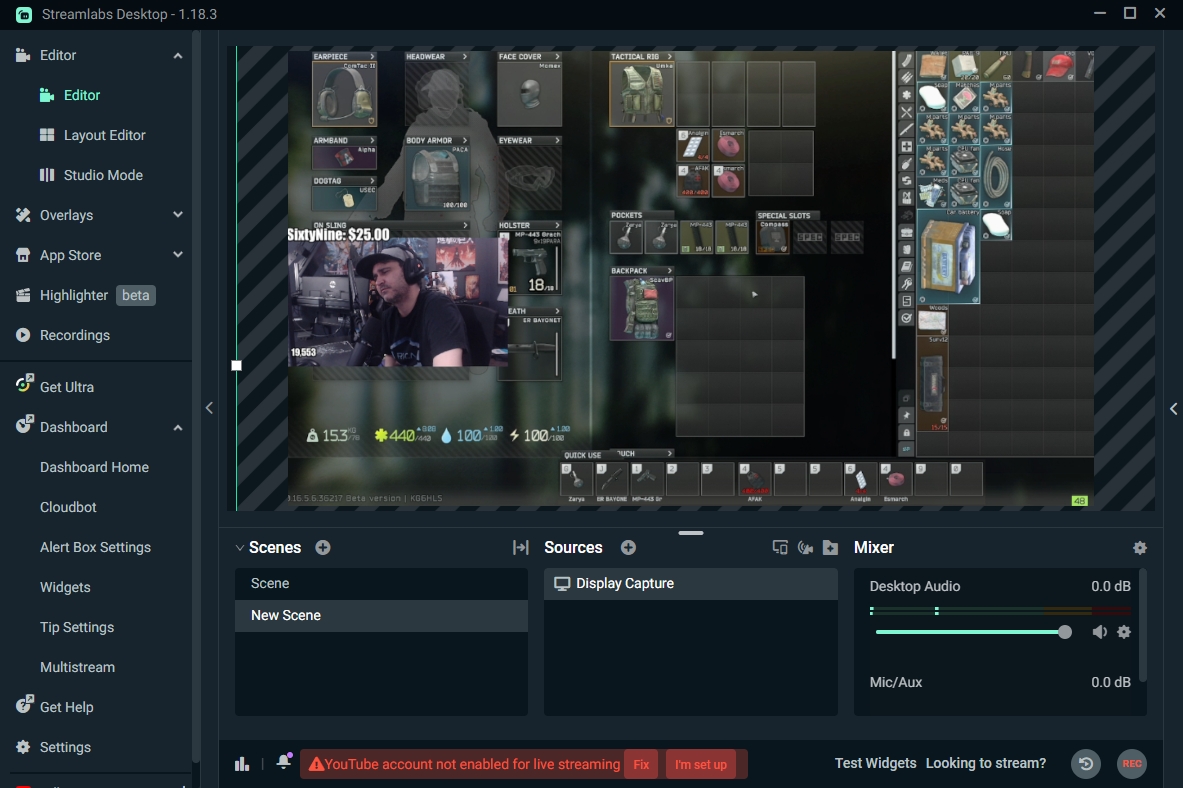
B. Twitch Recorder Using Streamlabs
Streamlabs offers a more user-friendly interface with pre-built themes and widgets. Setup is similar to OBS:
- Log into your Twitch account.
- Set up scenes and sources.
- Enable recording in Settings > Output.
- Start your stream and record at the same time.
C. Twitch’s Built-In VOD Feature
You can also save streams by enabling Twitch to auto-save past broadcasts.
Steps:
- Go to your Twitch Creator Dashboard.
- Click Settings > Stream.
- Turn on Store Past Broadcasts.
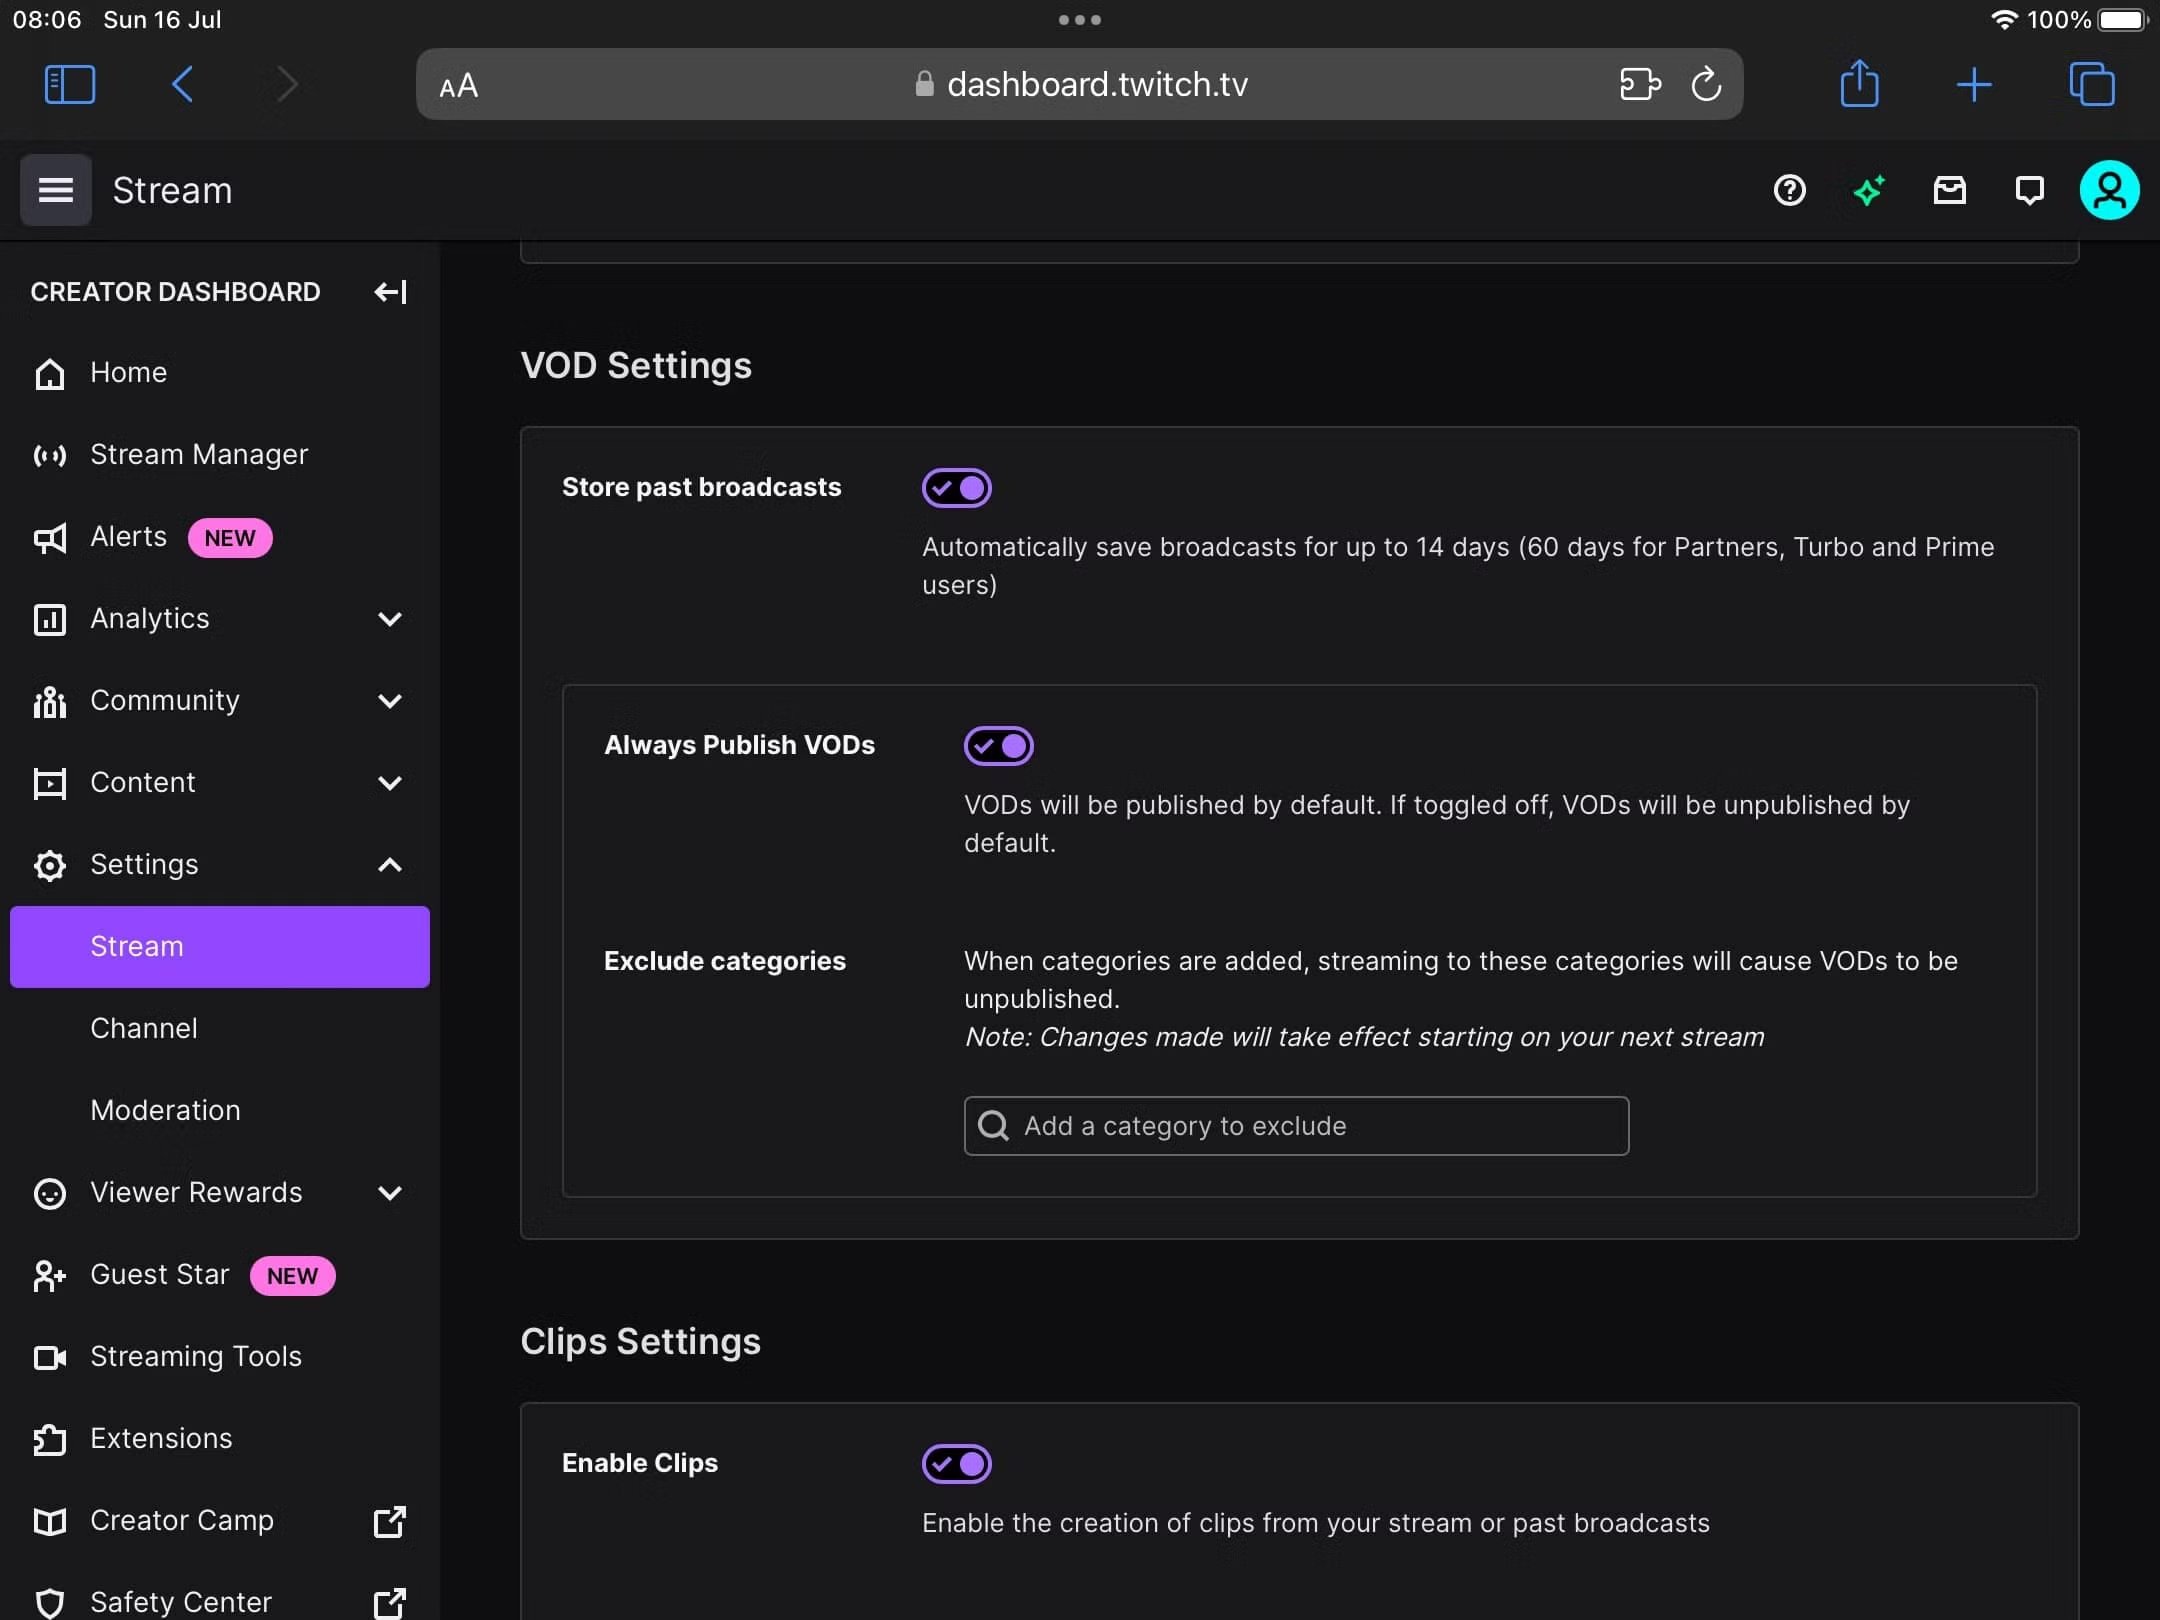
Limitations:
- VODs stay for only 14 days (60 for Prime, Turbo, and Partners).
- No advanced editing or format control.
- Must manually download VODs if you want them permanently.
2.2 How to Record Other People’s Twitch Streams
A. Best Easy-to-Use Recorder – Recordit (For All Users)
If you’re looking for a lightweight and hassle-free recorder, Recordit is your best bet for quickly capturing Twitch streams and clips without losing quality and frames.
Steps:
- Download Recordit for your Windows & Mac and set up the software.
- Open the Twitch stream in your browser, then use Recordit to set record parameters, e.g. record area, mode, output format, etc.
- Play the stream and click the Start Recording to let Recordit capturing the screen in real time.
- Once the record is complete, open the “Files” tab to find and enjoy the recorded streams locally.
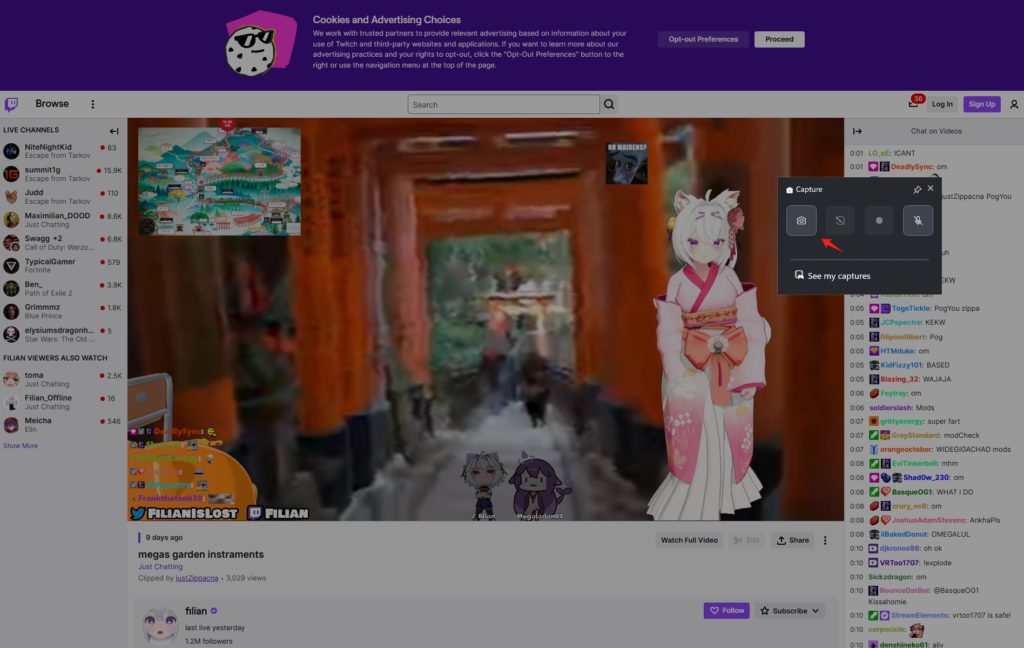
B. Xbox Game Bar (Windows 10/11 Only)
Windows users can record Twitch streams without any extra software using Xbox Game Bar.
Steps:
- Press the Windows key + G to launch the Xbox Game Bar on your PC
- Start the Twitch stream in your browser and play it in full size.
- Click the Capture button or press Win + Alt + R shortcut to record the Twitch stream in real time.
C. Auto-Recording Script (For Advanced Users)
If you want to automatically record streams when a channel goes live, there are open-source tools for that:
- TwitchAutomator
- Twitch-Recorder (GitHub)
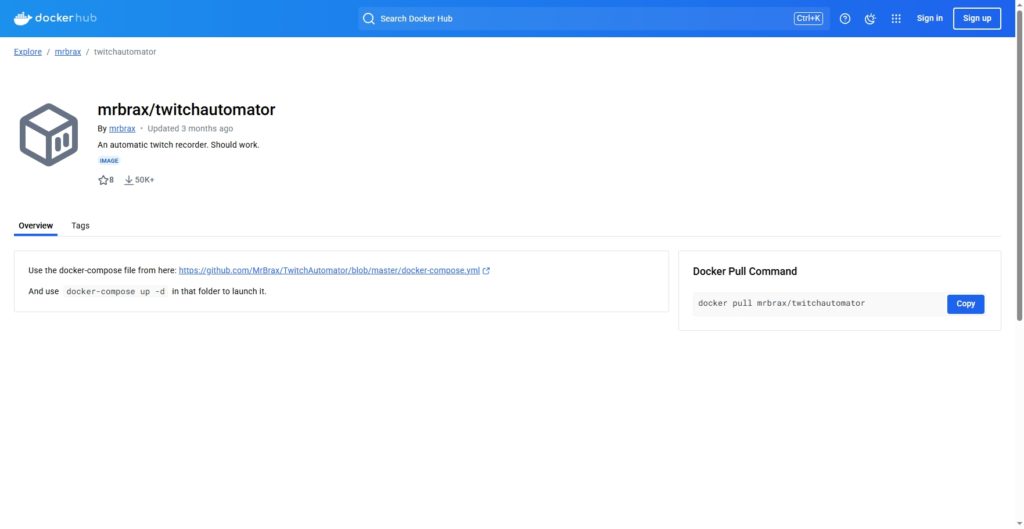
These require:
- Python or Node.js
- FFmpeg installed
- Basic command-line skills
3. Conclusion
Recording Twitch streams is a great way to save unforgettable gaming moments, tutorials, or just your favorite creator’s live content. Whether you’re capturing your own broadcasts or saving someone else’s stream for personal use, having the right tool makes all the difference.
While there are many screen recording options out there, Recordit stands out as the most user-friendly solution. If you’re new to recording or just want an easy, effective way to capture Twitch streams, Recordit is highly recommended. Just open it, select your screen area, and hit record – it’s that simple.