Get Started with Recordit
Welcome to the ultimate guide for using Recordit! Whether you’re capturing gameplay, recording tutorials, or streaming live, this guide will walk you through the setup, features, activation, and best practices to get the most out of your screen recording experience.
1. Download and Install Recordit
1.1 Download Recordit
Locate the Free Download button below for your operating system (Windows/macOS) and click on it and wait for the Recordit installer file to be saved on your device.
1.2 Install Recordit
- On Windows
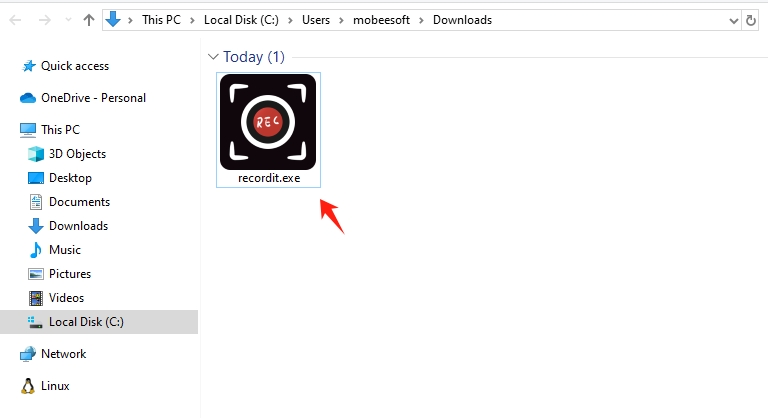
Locate the downloaded recordit.exe file in your Downloads folder, double-click the file to run the Recordit installer.
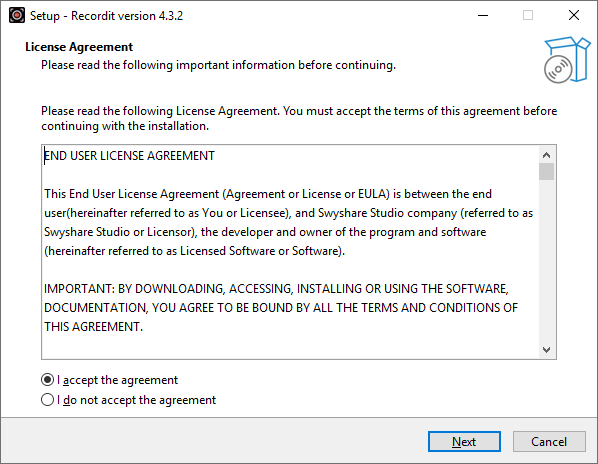
Choose preferred language and agree to the License Agreement.
Set additional tasks if needed, then start the setup process.
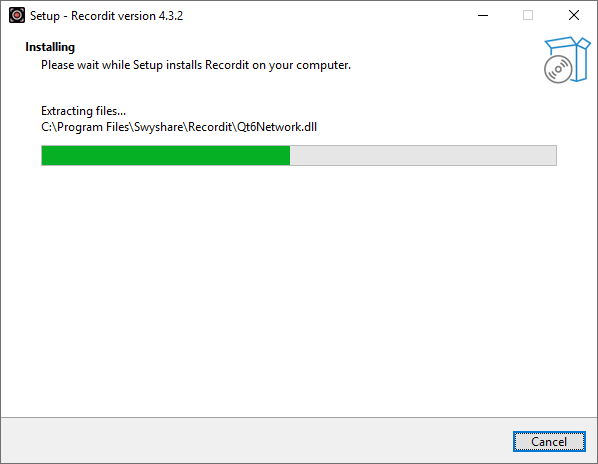
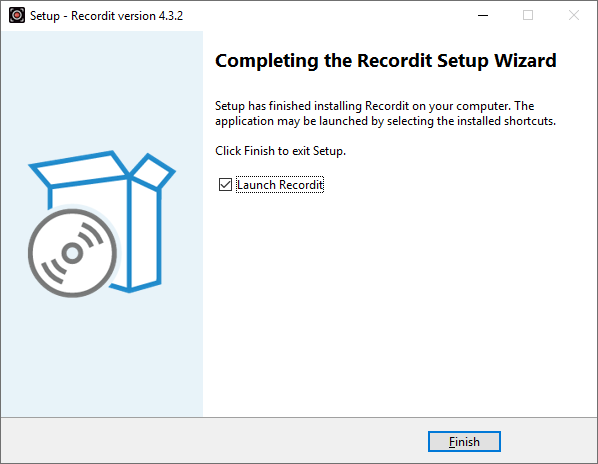
Wait for the installation to complete, then click Finish. After setup, open Recordit from the Start menu or desktop shortcut.
- On Mac
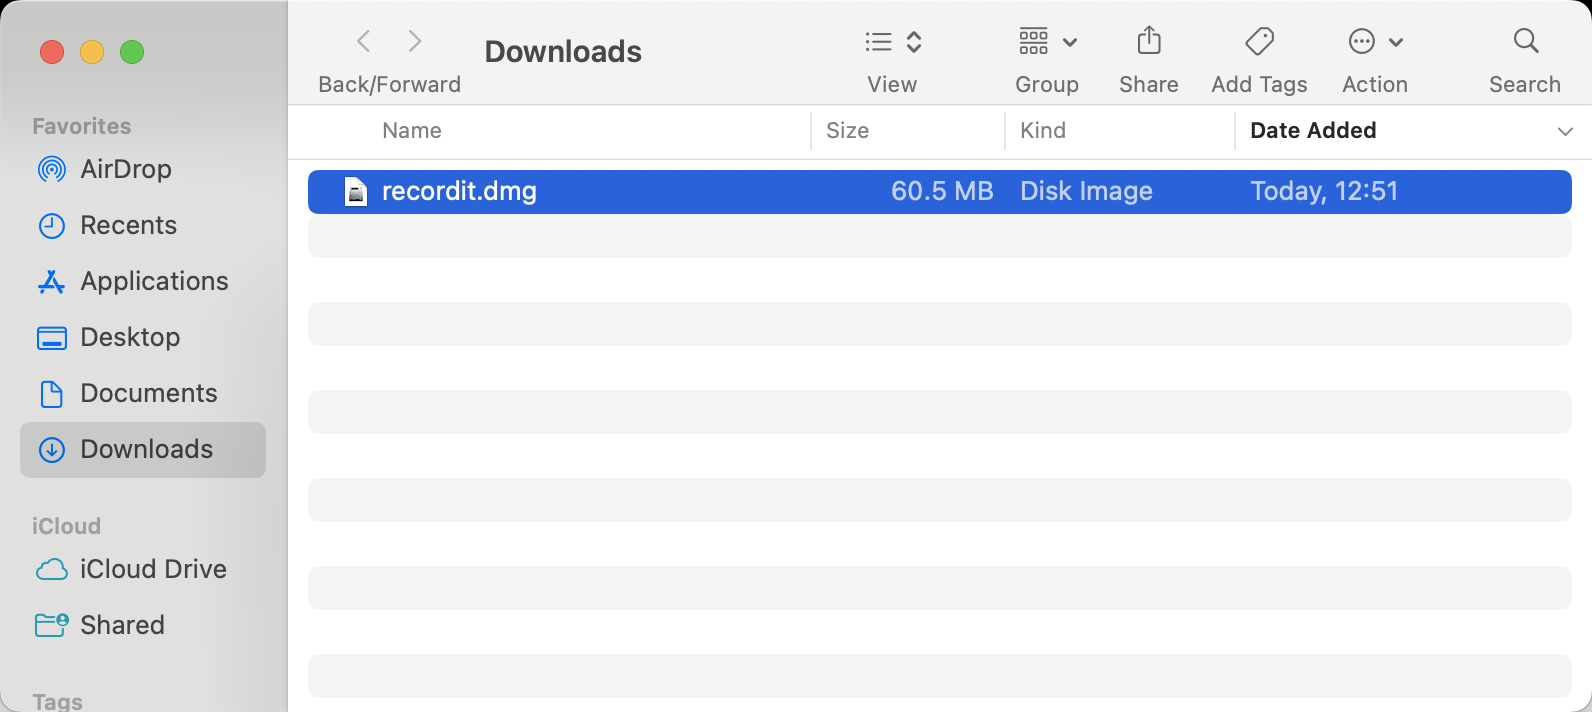
Open the downloaded .dmg file to extract the application.
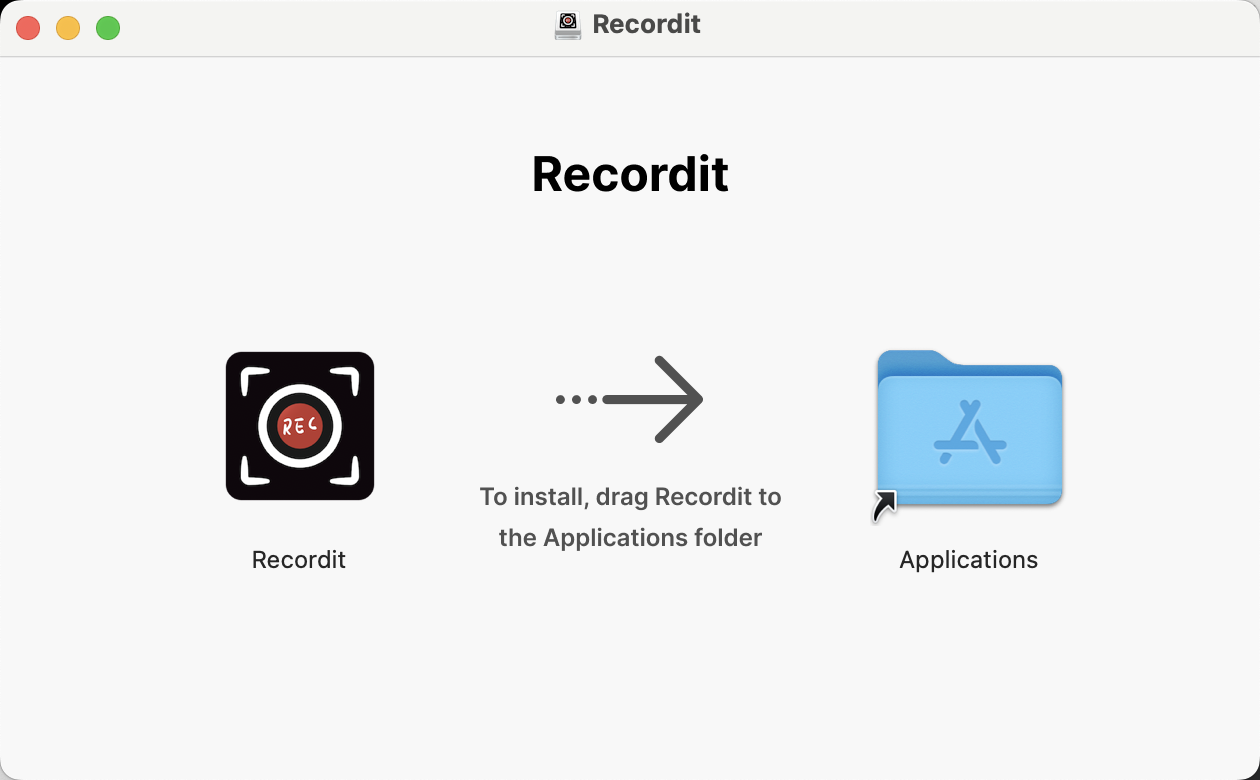
Drag the Recordit app into your Applications folder.
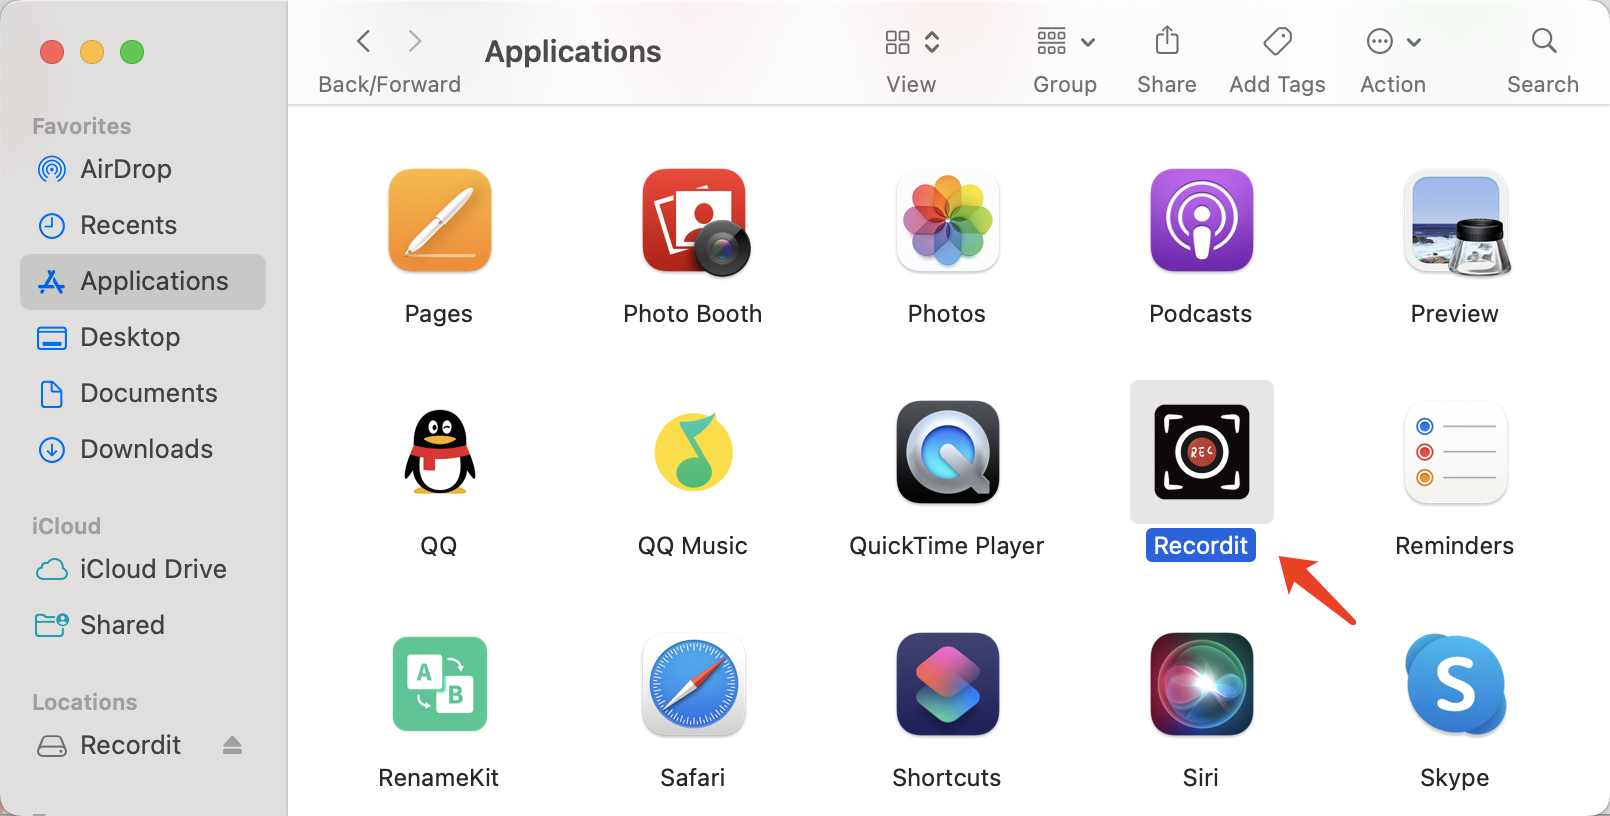
Open the Applications folder and double-click on Recordit to start the program.
2. Register Recordit
To unlock the full features of Recordit, follow these steps to activate your license:
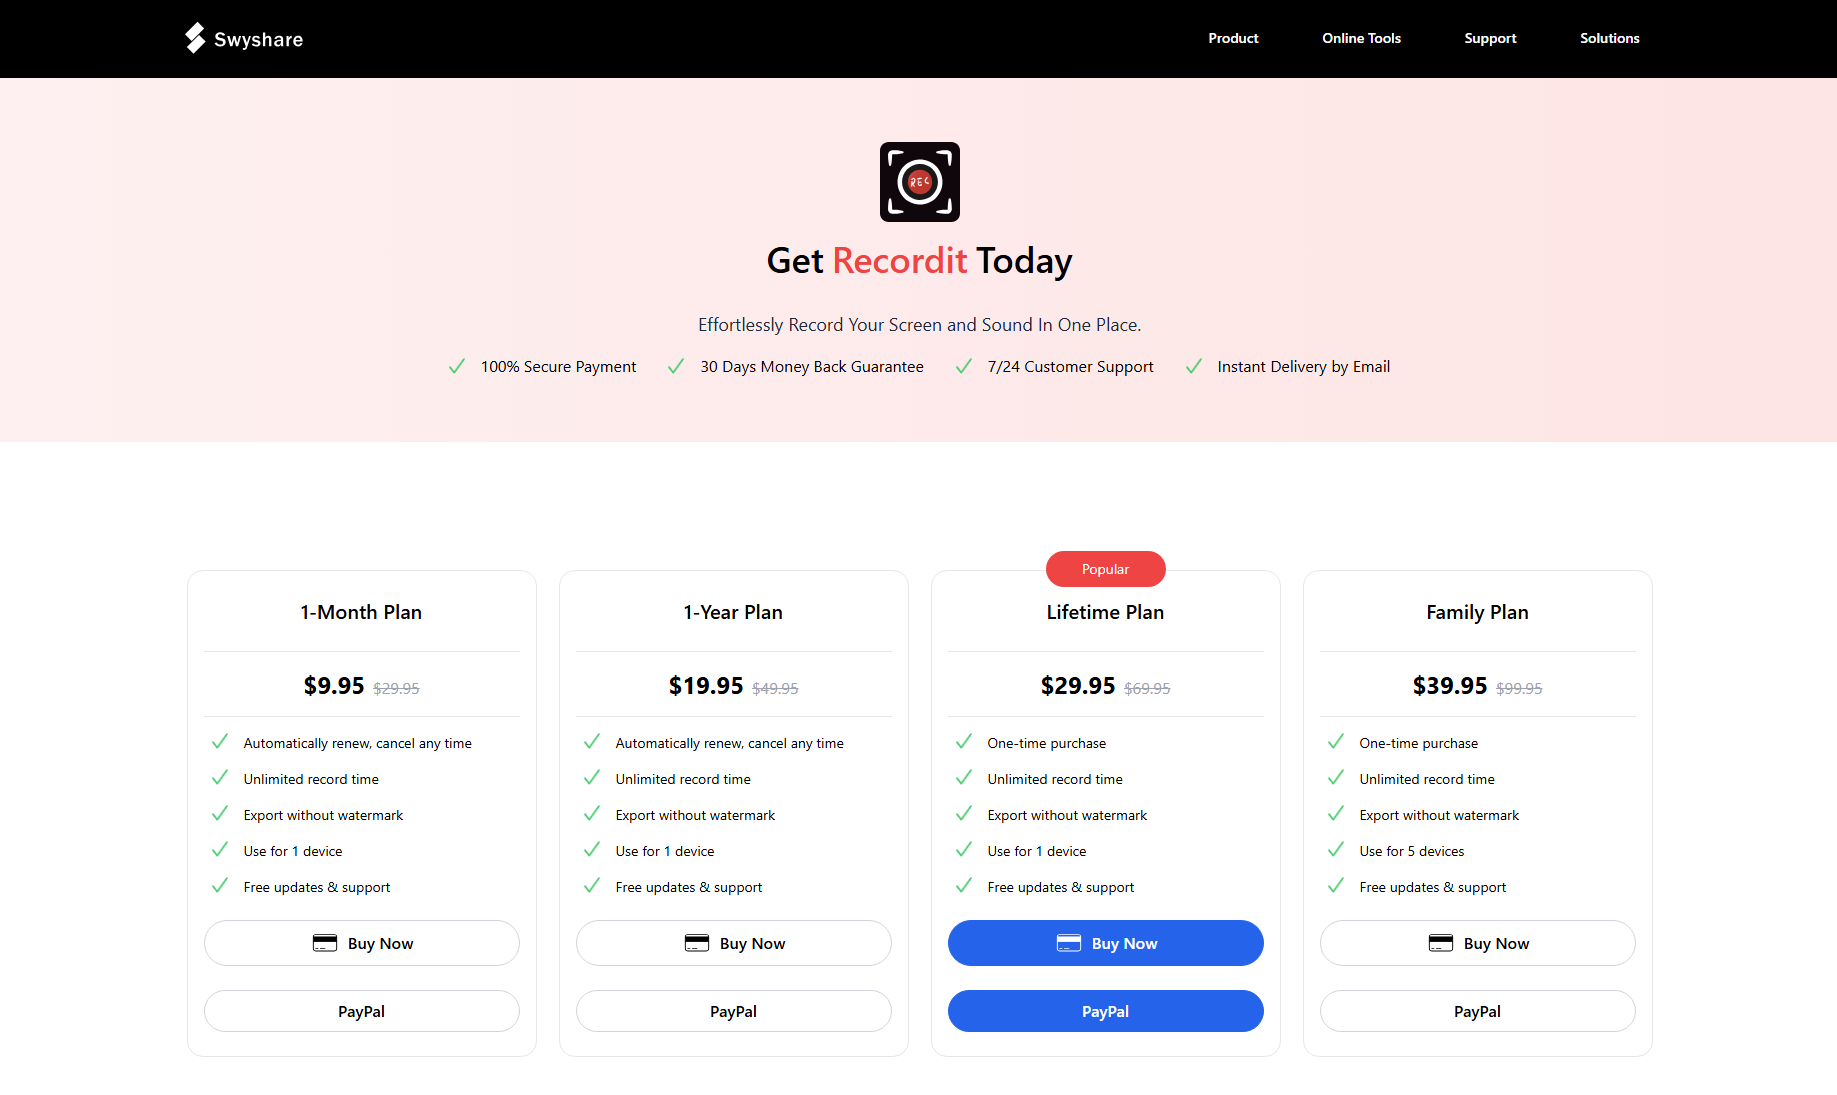
To unlock all features of Recordit, please go to the Recordit pricing page to purchase a license.
After purchasing, you will receive an e-mail with your order information, locate the license key and copy it.
On the Recordit main interface, click on Register button in the upper right corner of the interface.
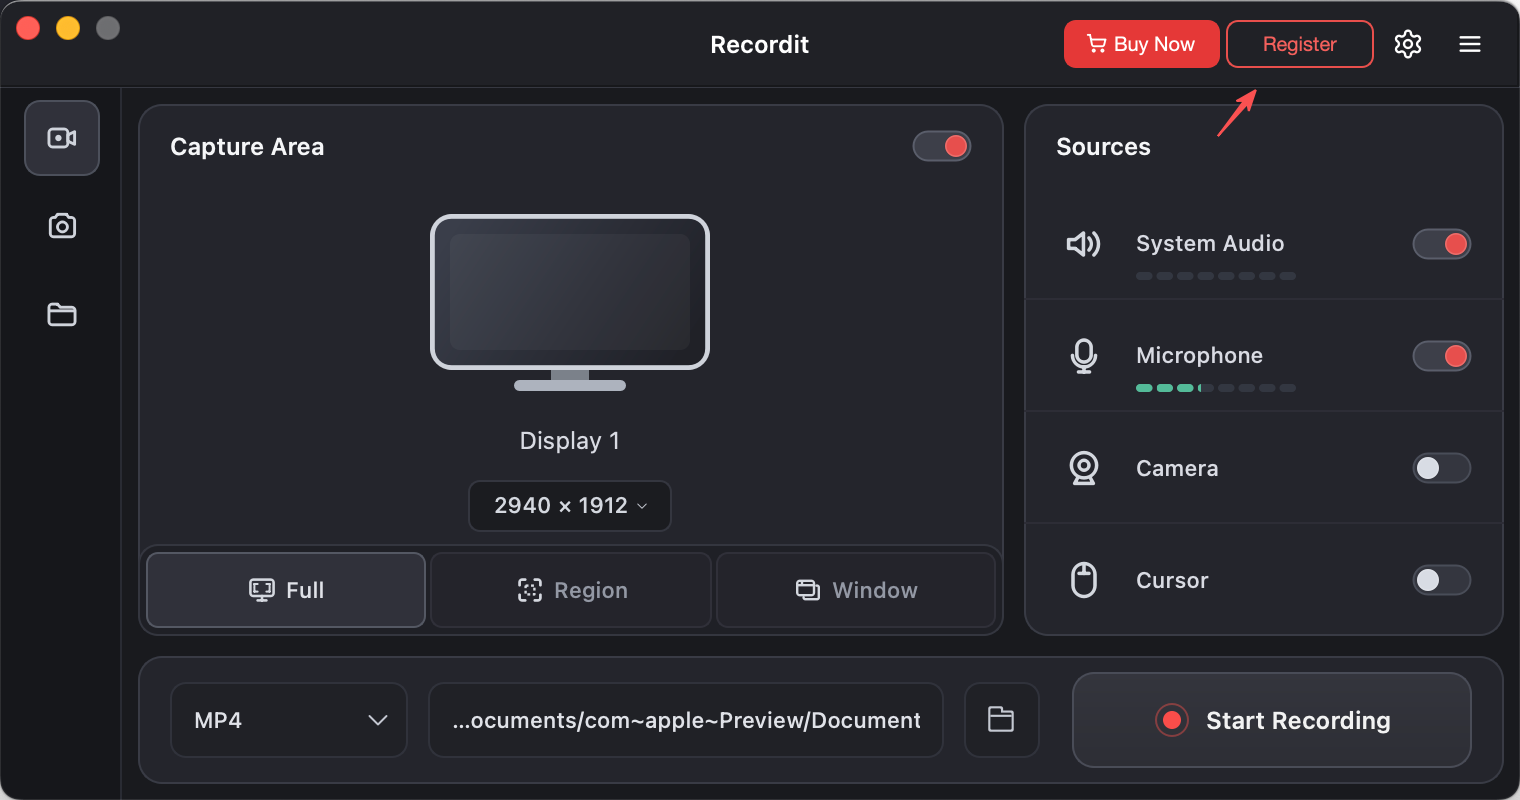
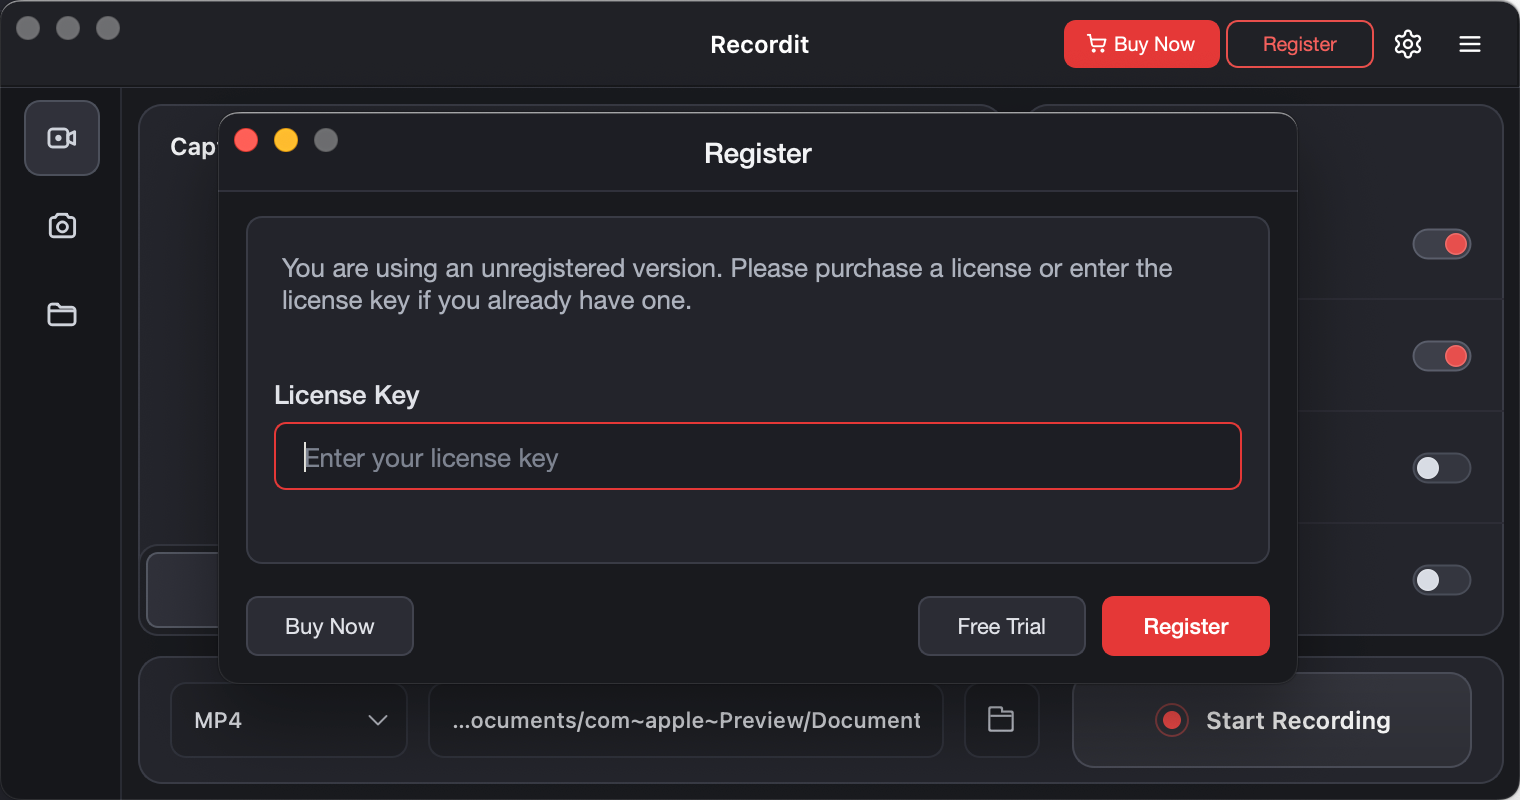
Input your license key and click Register. Wait some seconds and your Recordit account will be activated with full access.
3. Recordit Settings
To customize your recording experience, click the software “Preferences” icon to adjust the following parameters:
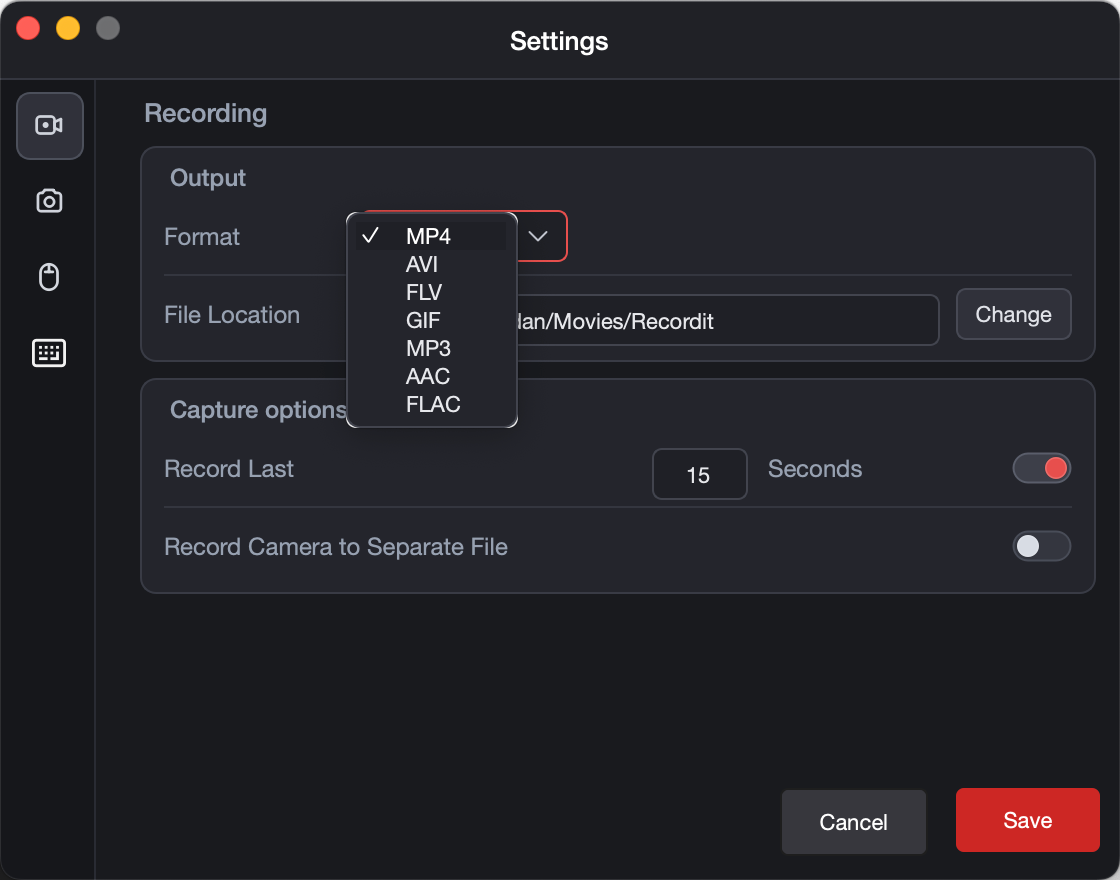
Recording Settings:
- Output Format: Select MP4, AVI, FLV, GIF, MP3, AAC, FLAC.
- File location: Select destination folder to save video or audio recordings.
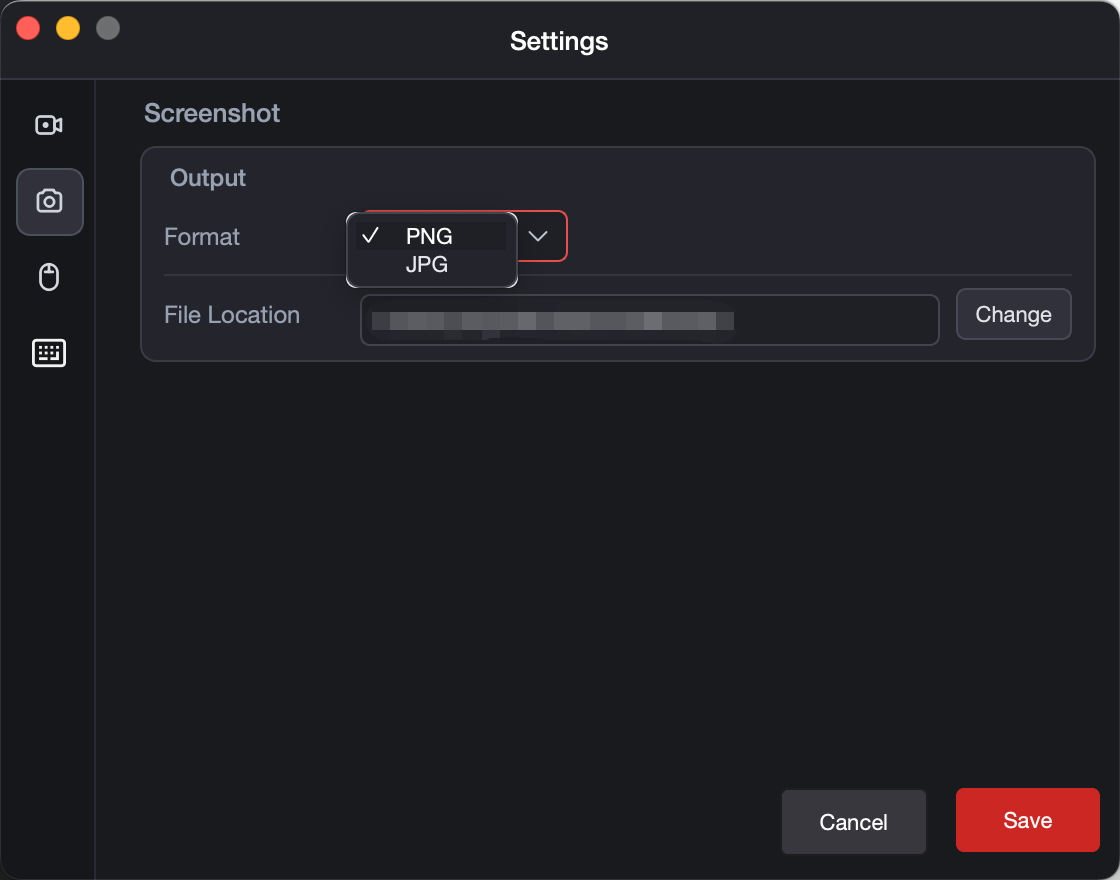
Screenshots Settings:
- Output Format: Select PNG or JPG.
- File location: Select destination folder to save captured screenshots.
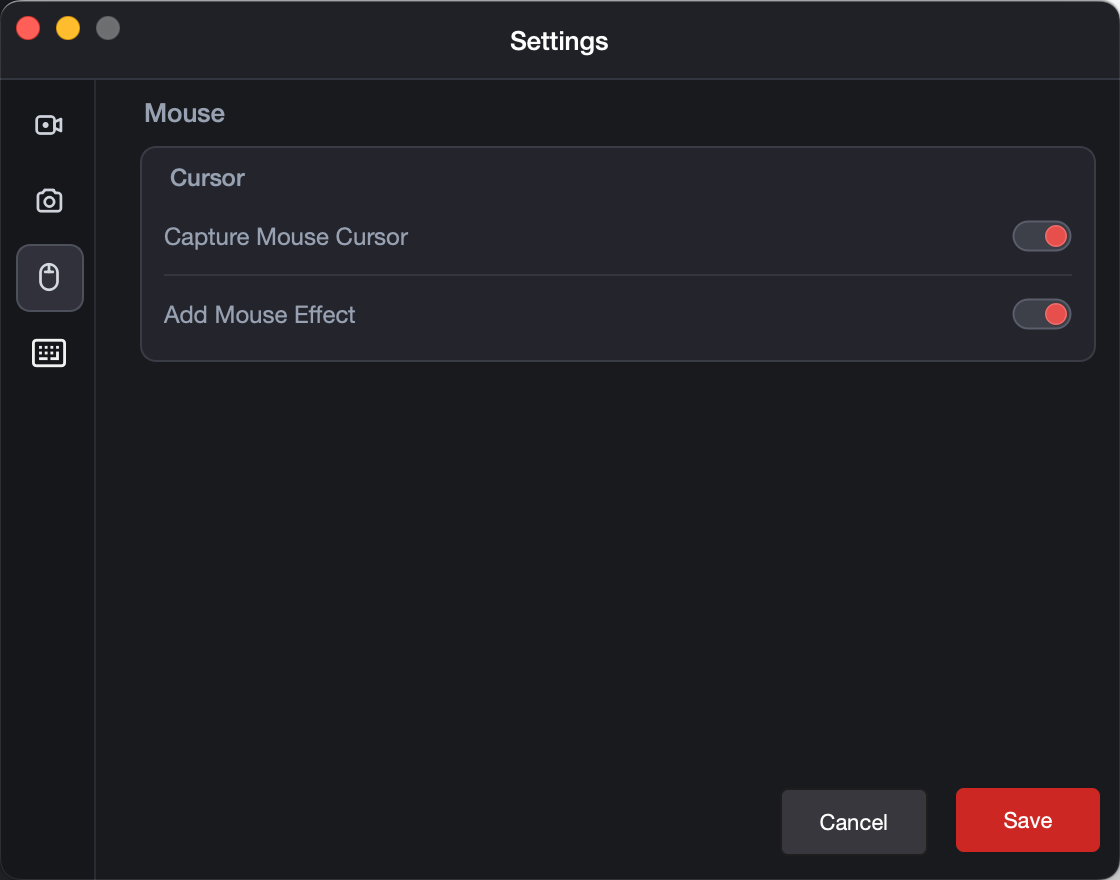
Mouse:
- Capture mouse cursor or not
- Add mouse effect or not
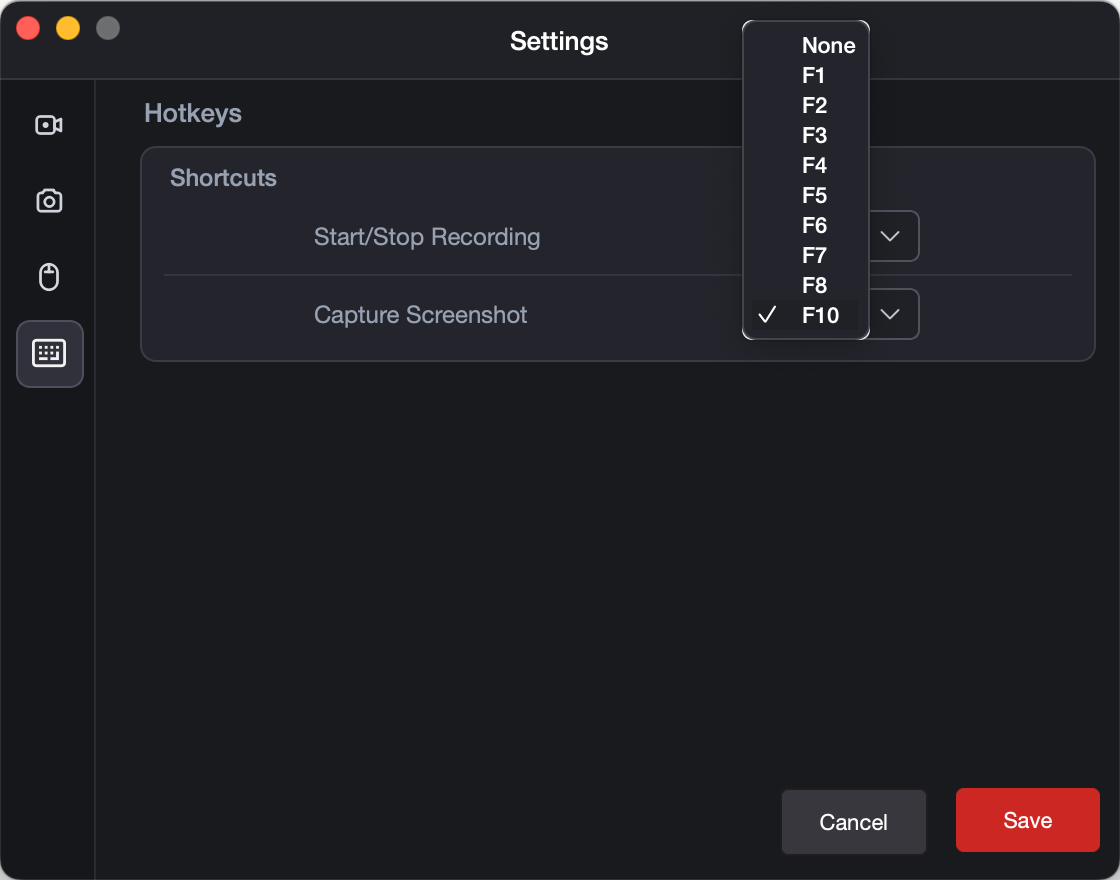
Hotkeys:
- Start/Stop Recording: From F1 to F10.
- Capture Screenshot: From F1 to F10.
4 Record Screen
When you launch Recordit, you will be under Recordit’s “Recording” tab.
1) Customize Recording Settings
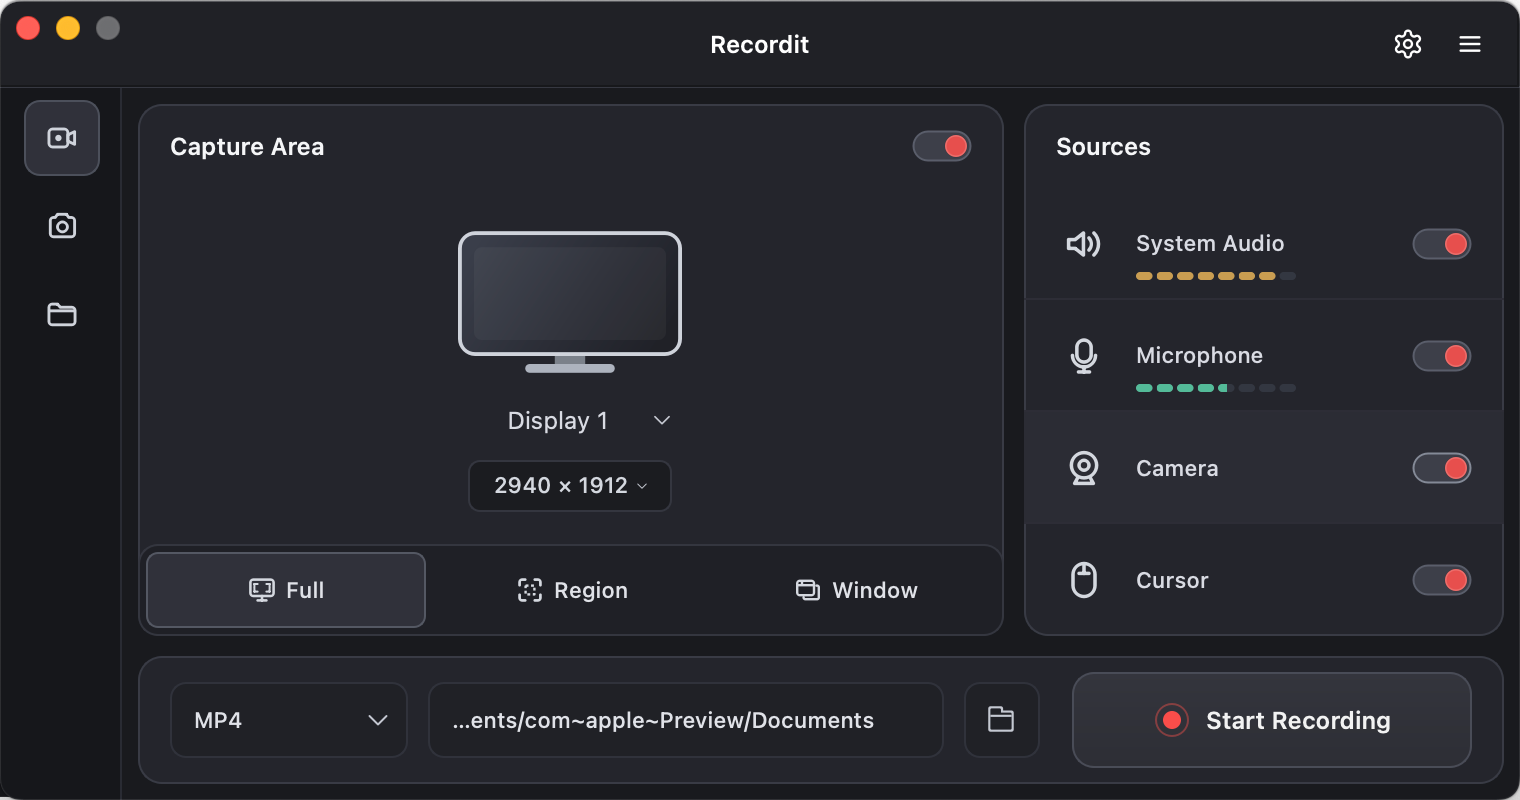
Beforing recording, you can set desired parameters on the software main interface based on your needs:
Select Display Screen:
- Computer Screen – Record your Windows or Mac computer screen.
- Android Screen – Connect and record your Android phone screen.
- iPhone Screen – Mirror your iPhone via AirPlay and record it with Recordit.
Select Capture Area:
- Full Screen – Capture everything displayed on your screen.
- Region – Select a specific area of the screen to record.
- Window – Record only a selected application window.
- Select Ratio – Choose a suitable aspect ratio for your recording.
Select Sources:
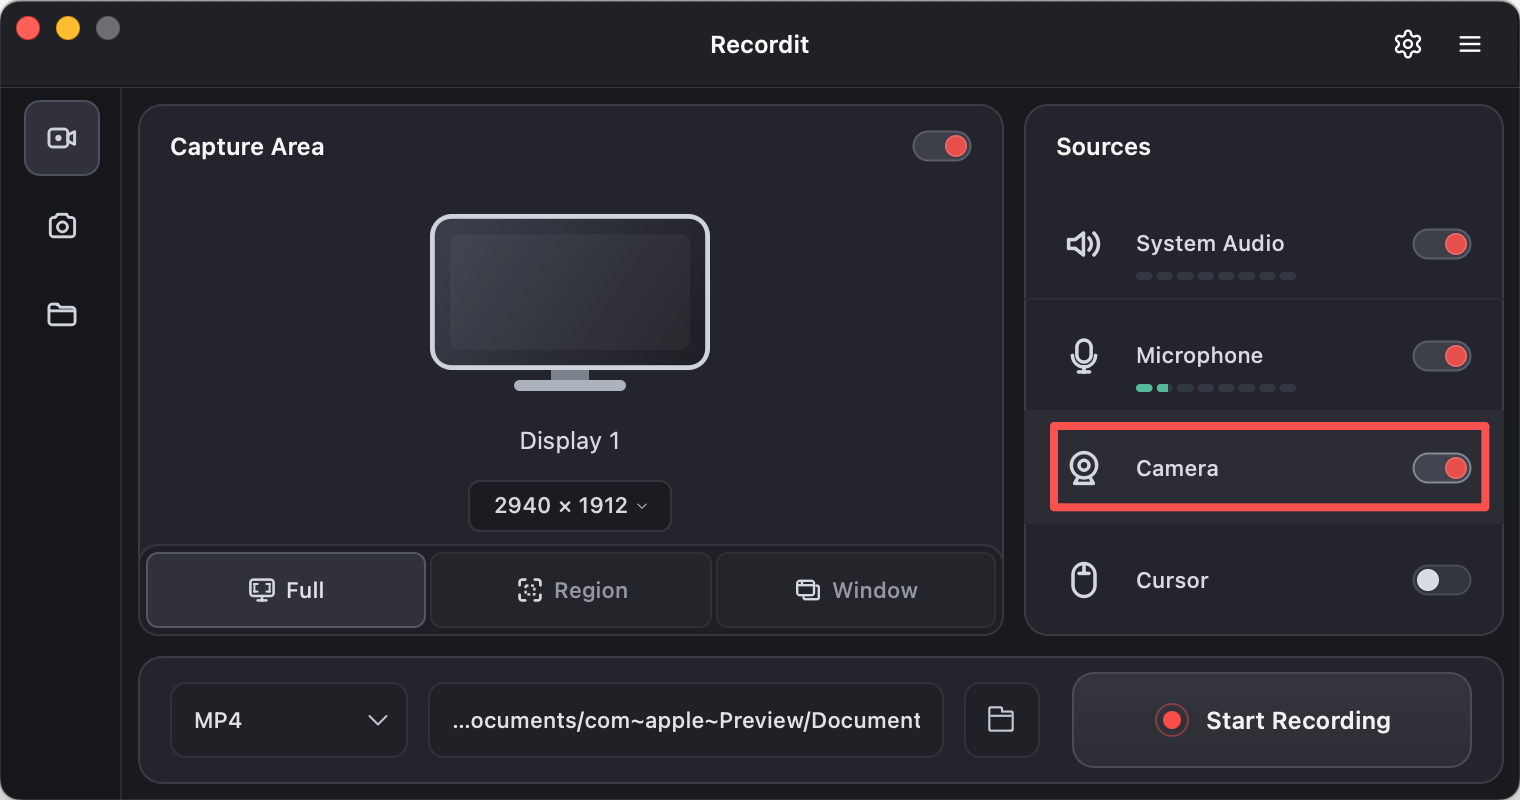
- System Audio – Record sounds from your computer.
- Microphone – Capture your voice or other microphone input.
- Camera – Add your webcam footage to the recording.
- Cursor – Show or hide the mouse cursor in the final video.
Select More:
- Select Format: Choose the format for your recording, such as MP4, GIF, or MP3.
- Select file location: Pick the destination folder where your recordings will be saved.
2) Start Recording
Click Start Recording on the task bar and Recordit will begin capturing screen in real time.

3) Stop Recording
When you’re finished, click the Stop Recording button and your screen capture will automatically saved in the chosen folder.

5. Record Audio
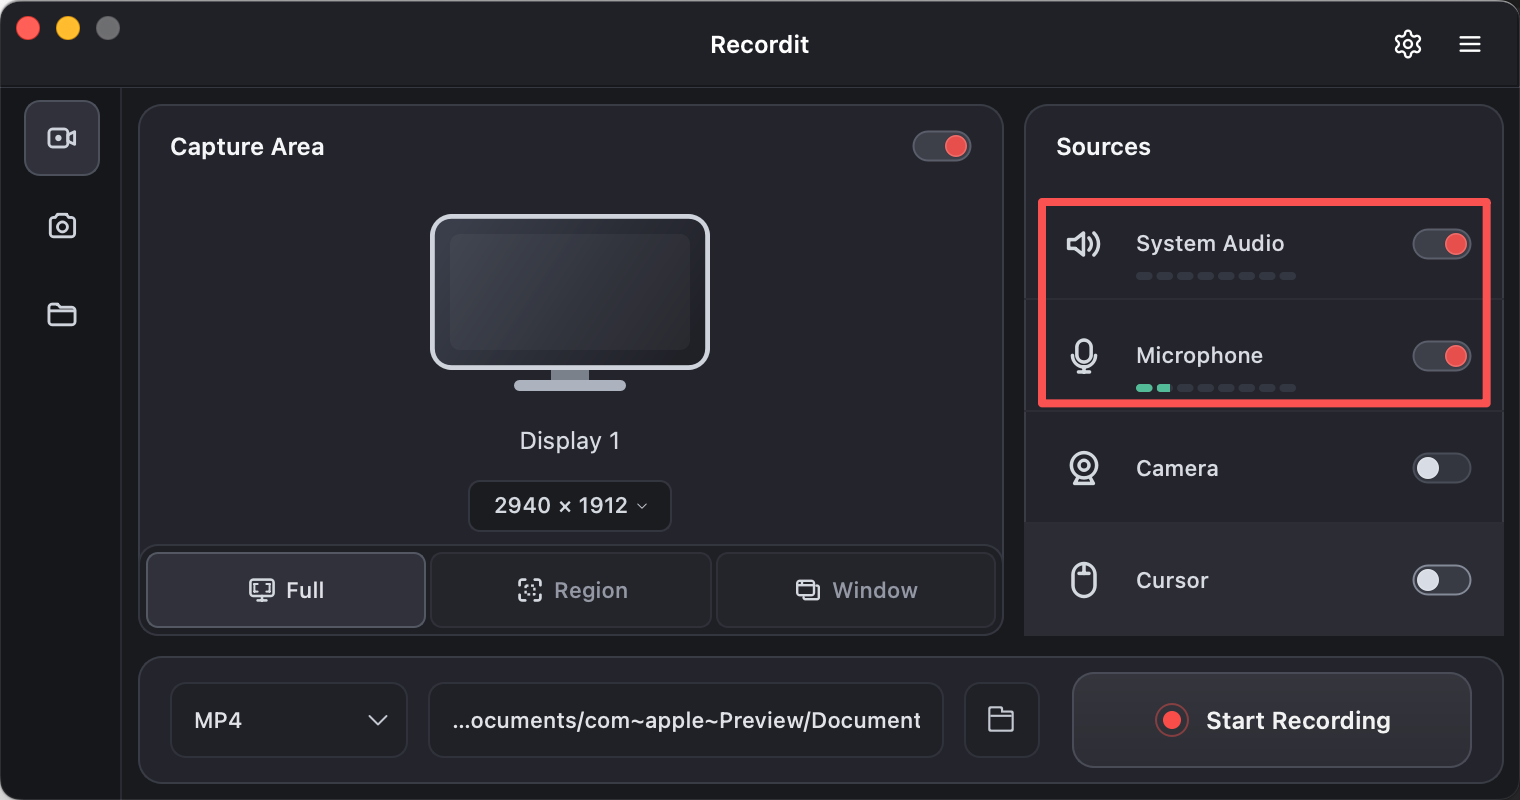
Record Audio lets you capture sound while recording your screen or camera, including:
- System audio – sounds from your computer
- Microphone audio – your voice or external input
- Both – for tutorials, presentations, or commentary
6. Record Camera
Record Camera in Recordit lets you capture your webcam video while recording your screen.
- Records your face via webcam
- Can be used with or without screen recording
- Often appears as a small overlay on the screen video
7. Record Phone Screen
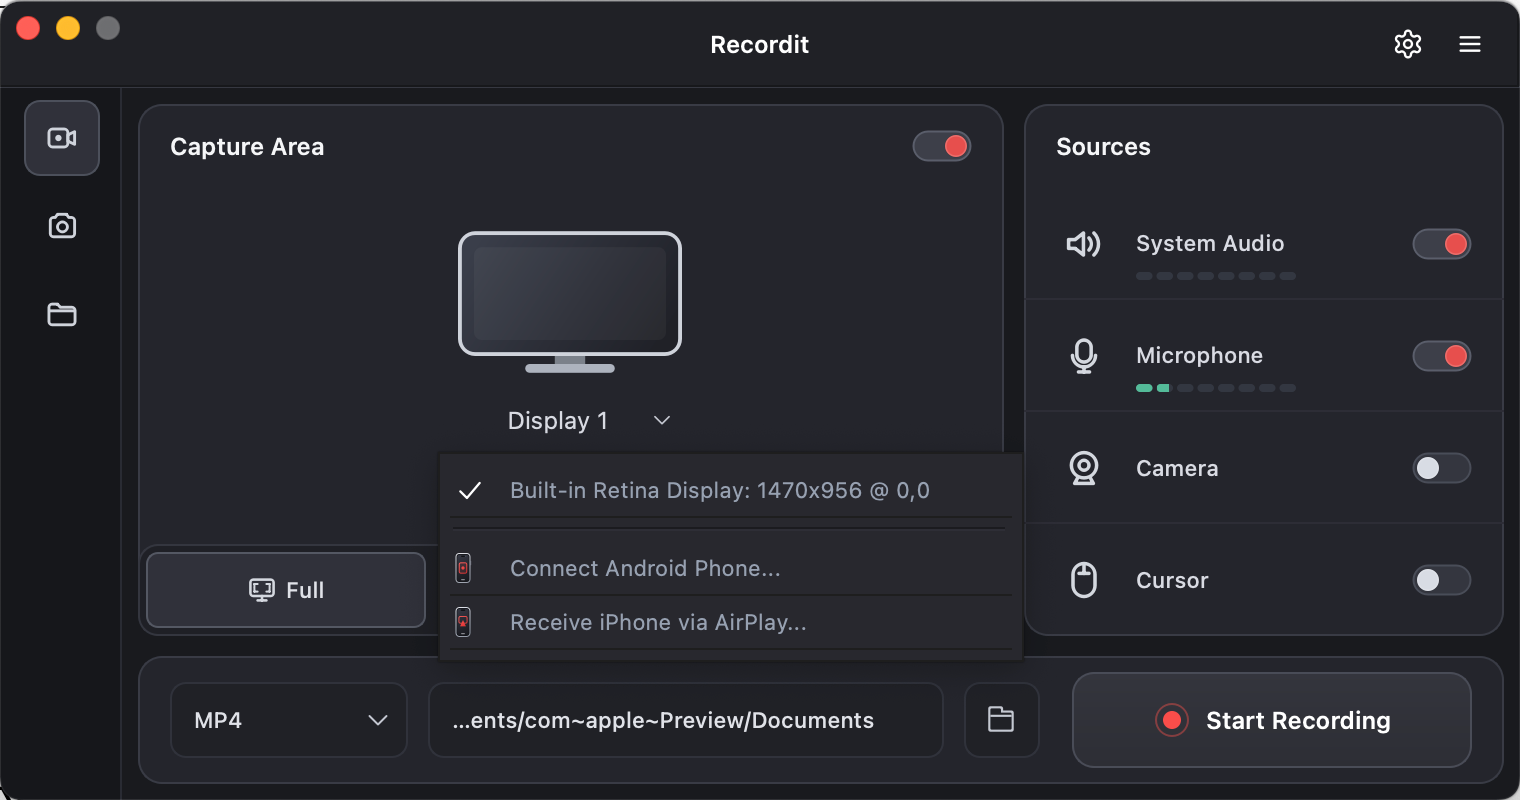
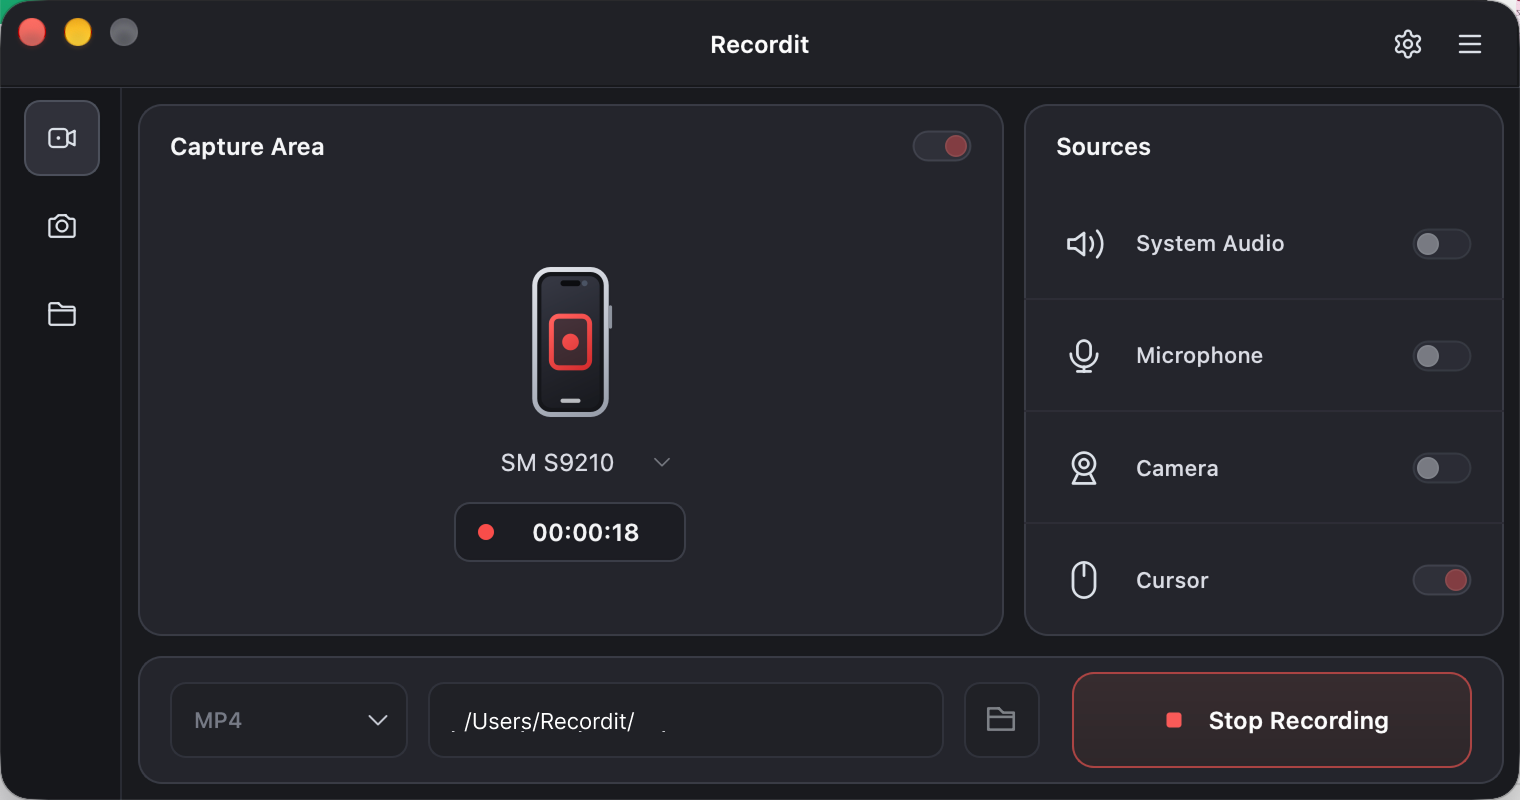
Click the drop-down button next to “Display”, then select “Connect Android Phone” for Android devices or “Receive iPhone via AirPlay” for iPhones.
- Connect Android Phone
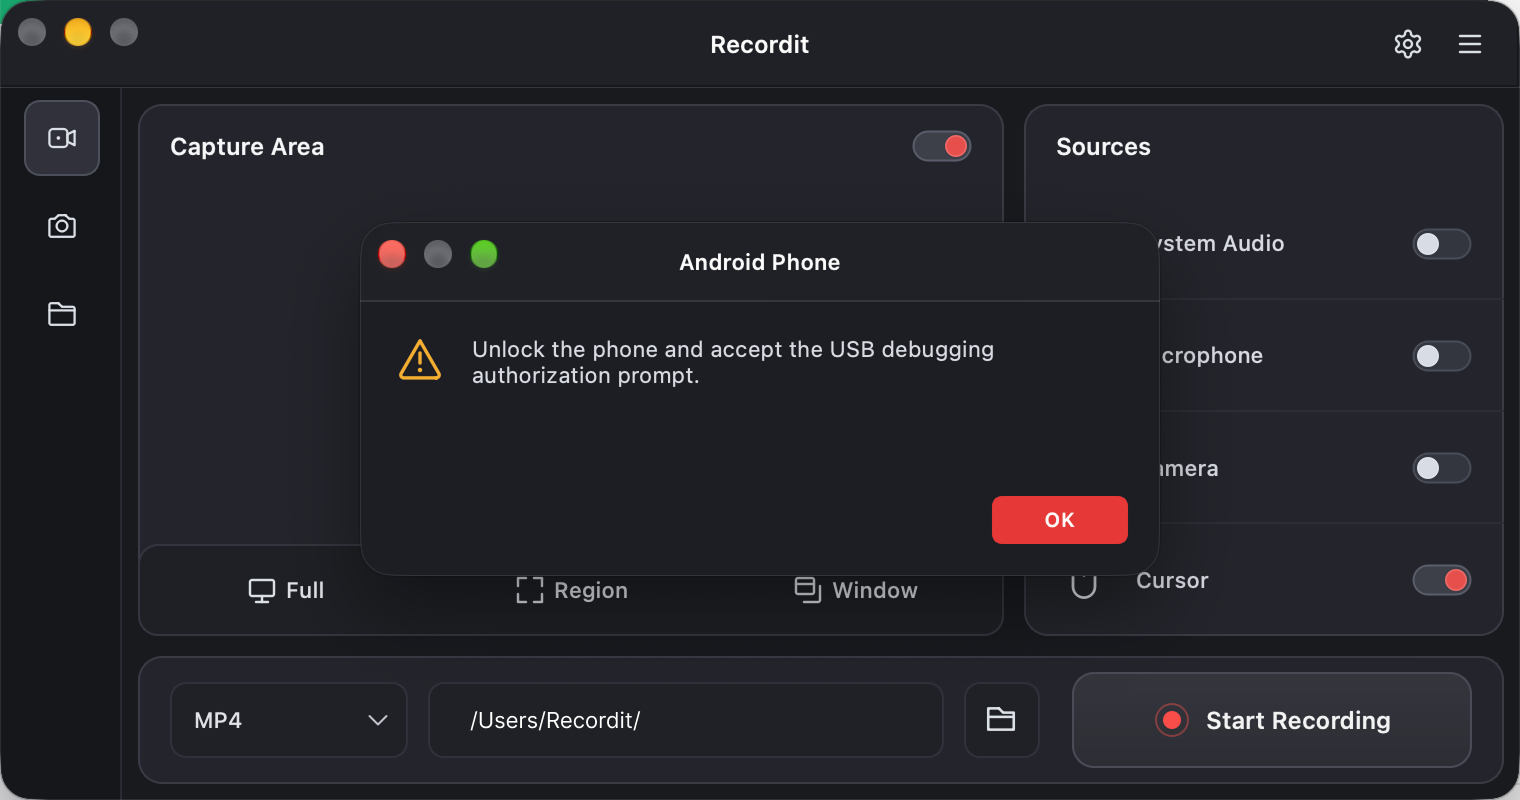
Use a USB cable to connect your Android phone to your computer. Unlock your phone, then accept the USB debugging authorization prompt when it appears.
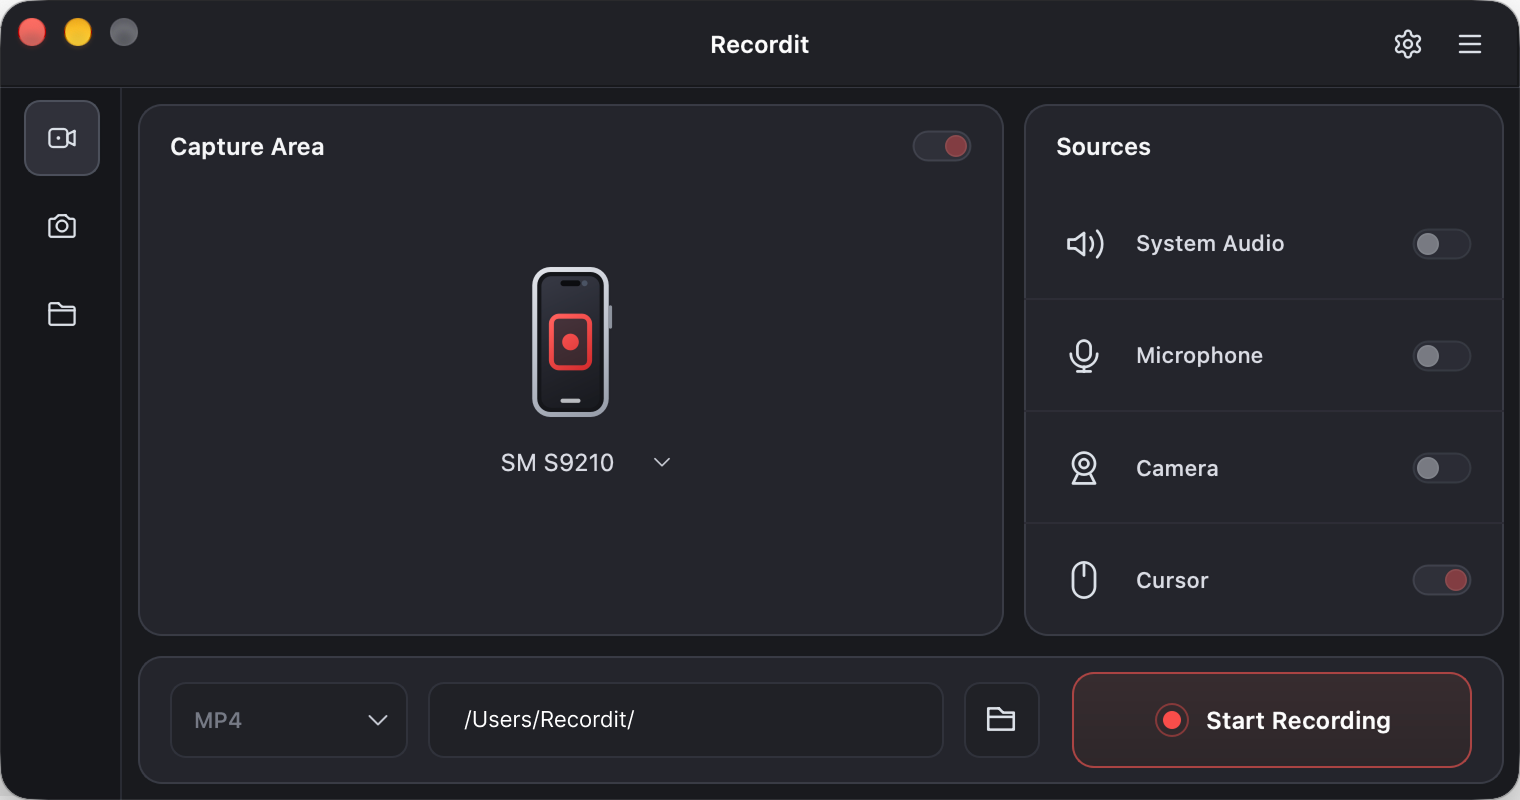
Once your device appears in the Recordit interface, click “Start Recording” to begin.
When you’re finished recording your phone, click “Stop Recording” to end the recording.
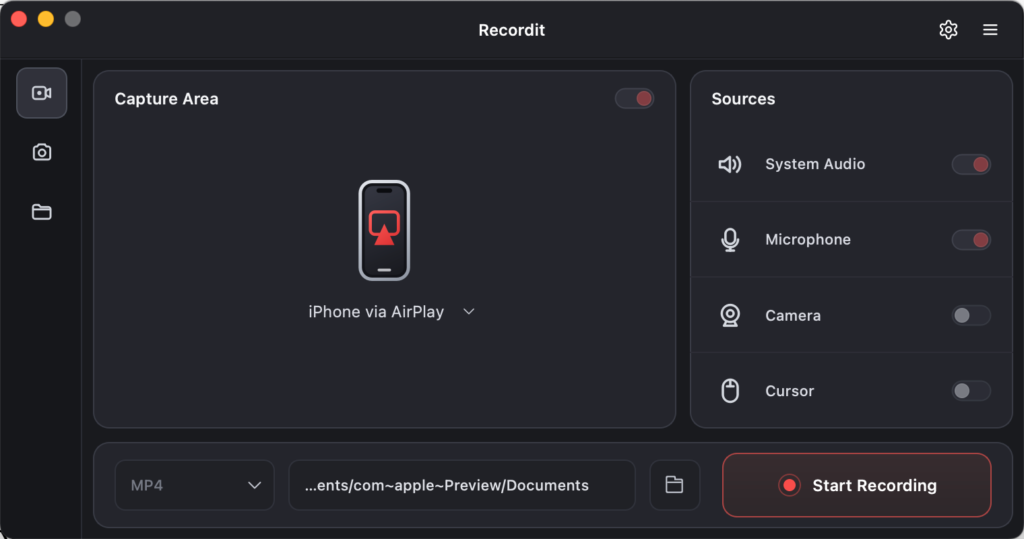
- Receive iPhone via AirPlay
Click “Start Recording” under Recordit’s Receive iPhone via AirPlay feature.
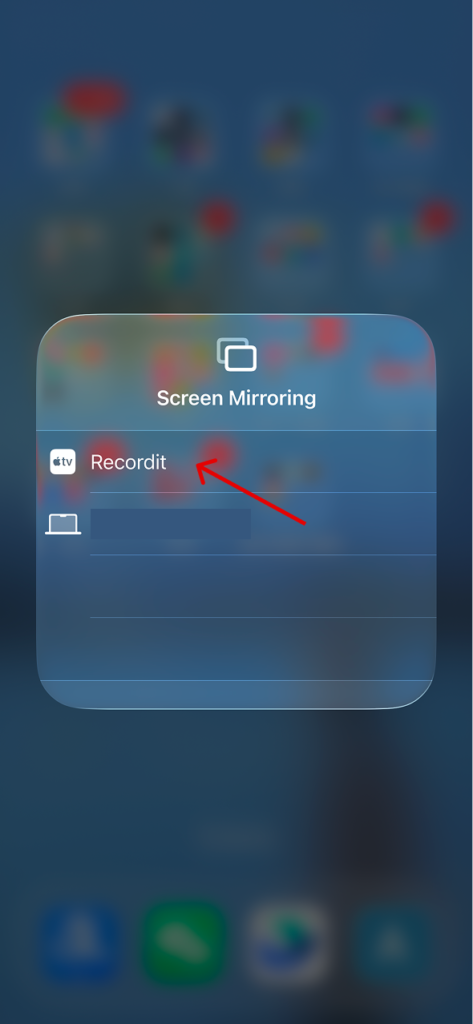
On your iPhone, open Screen Mirroring from Control Center, then select “Recordit” from the available devices, and the recording will begin.
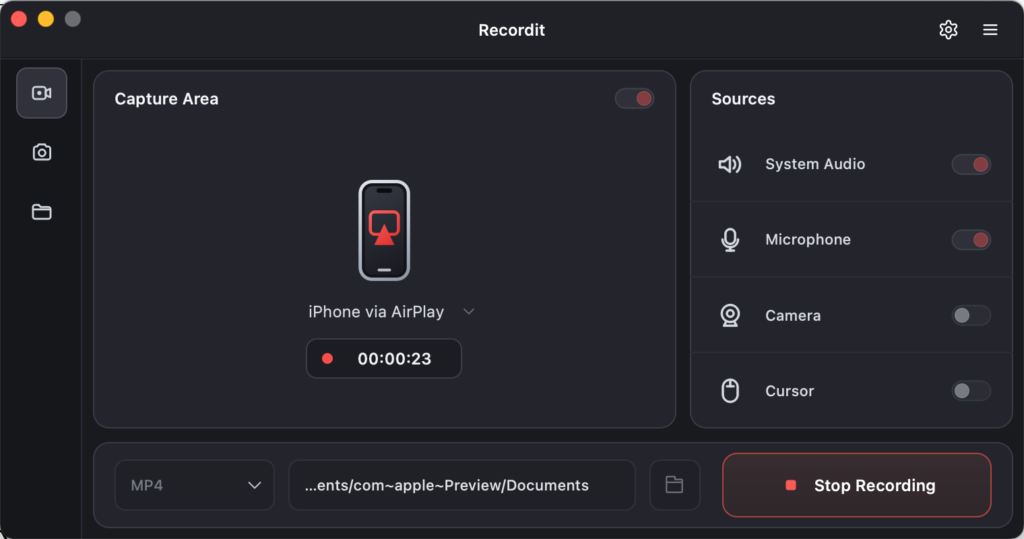
When finished, click “Stop Recording” in Recordit to save the recording.
8. Schedule Recording
Swyshare Recordit includes a built-in scheduled recording tool so you can auto-start a screen recording at a specific time.
Select record area > Click the Schedule Recording icon in the task bar.

Customize Start/Stop time > Confirm and click “Set“.
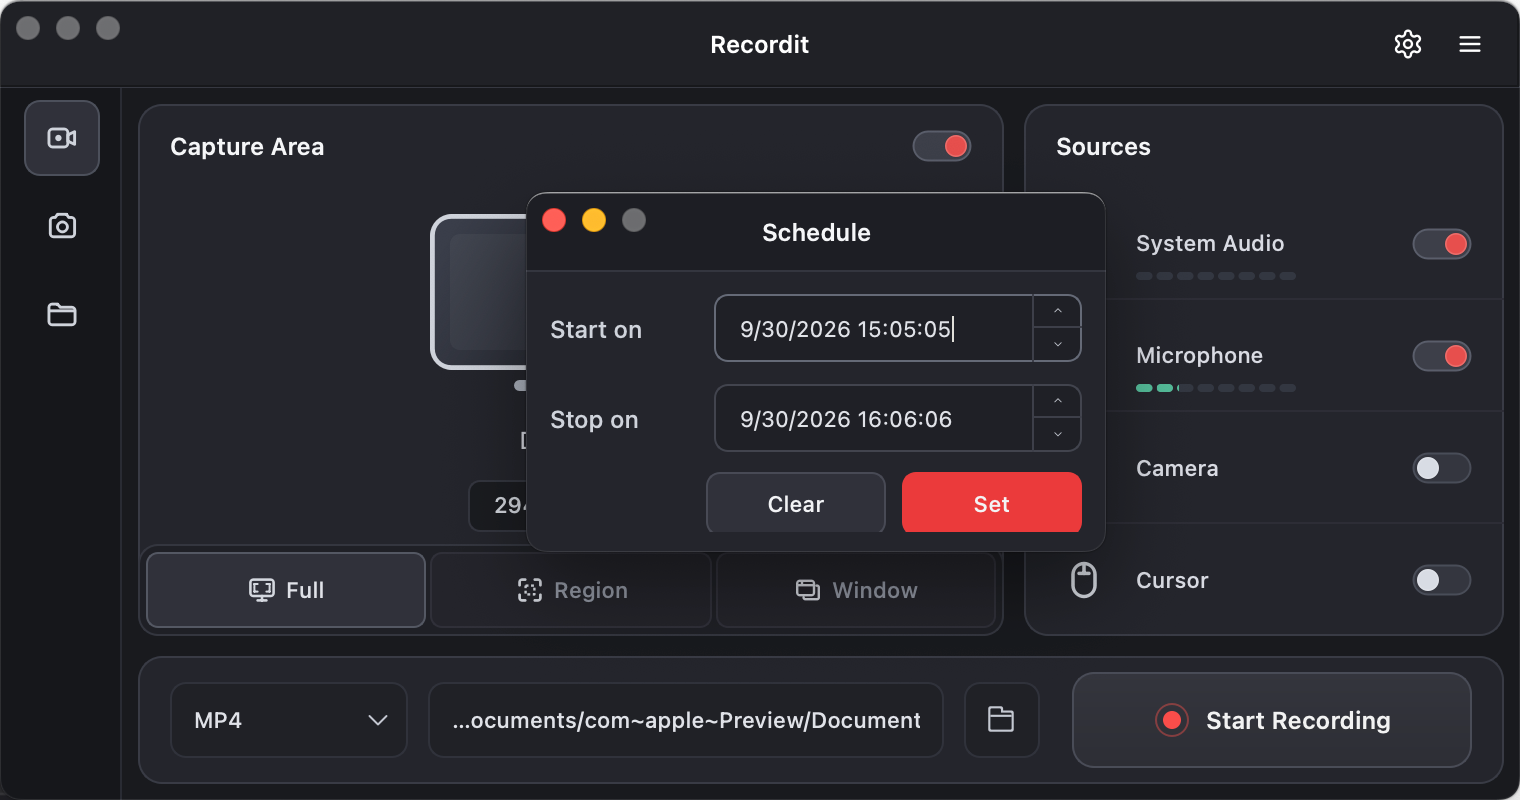
Recordit will run in the background and automatically begin recording at the scheduled time — no need to click anything.
9. Record Last ** Seconds
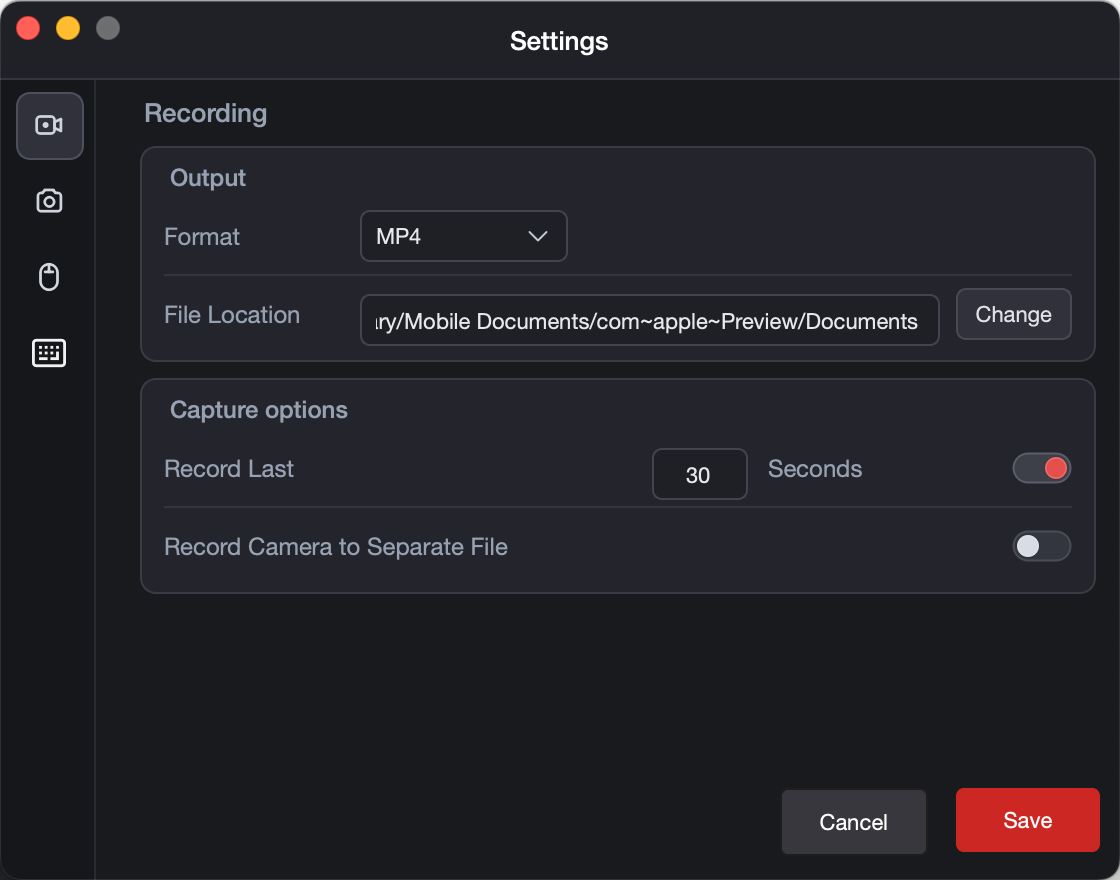
Recordit’s Record Last XX Seconds works by continuously buffering your screen in the background, so you can save the last moments after something happens.
Open “Settings” > Select “Recording” > Enable “Record last ** seconds” and set how many seconds to save.
Example:
Record Last 30 seconds
10. Record Camera to Separate File
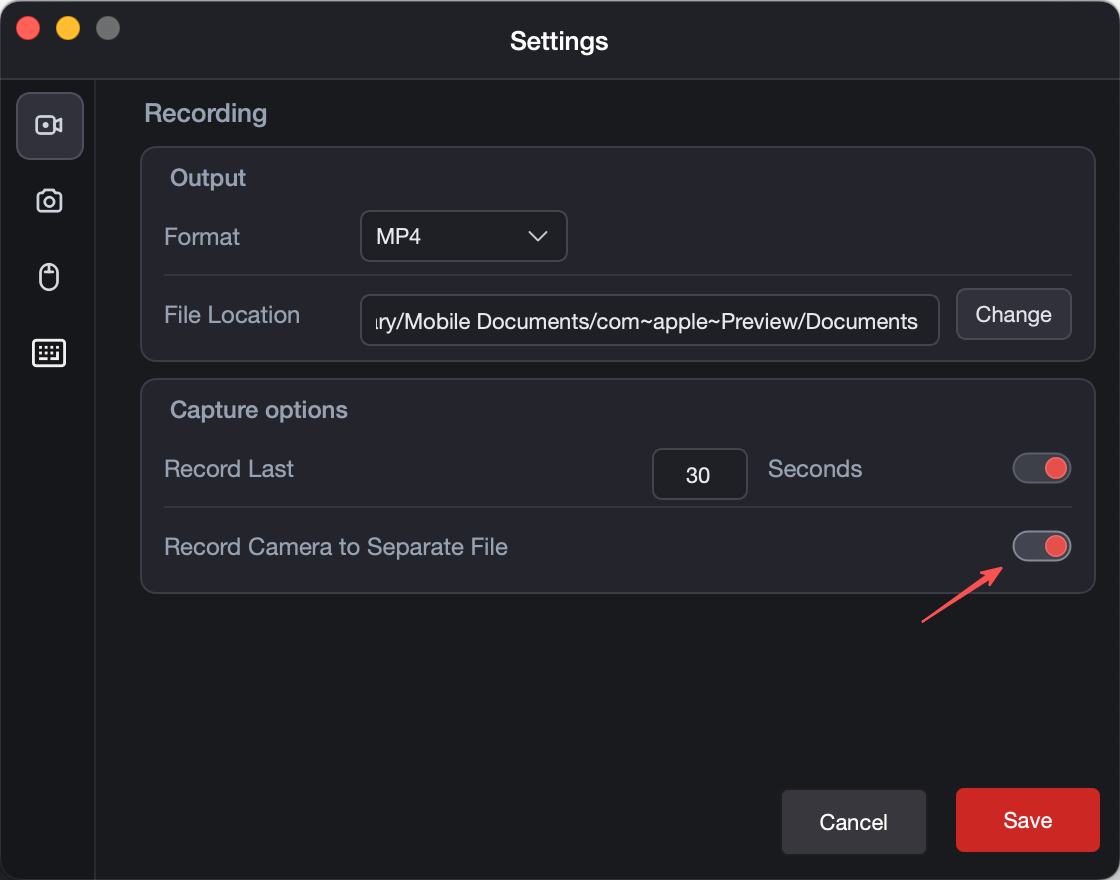
This feature lets Recordit save your webcam video separately from your screen recording.
You get two files:
- Screen recording
- Camera (webcam) recording
11. Use Virtual Display Capture
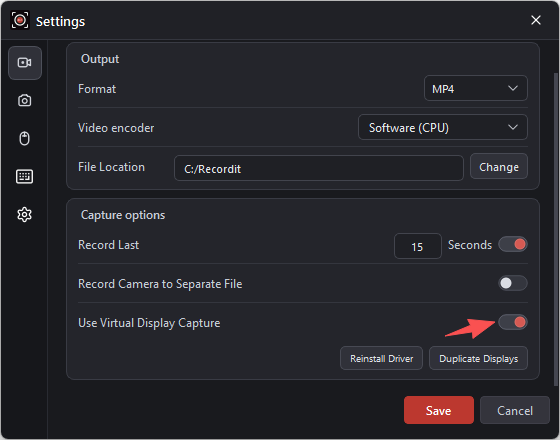
On Windows, Recordit offers Virtual Display Capture, which can help record DRM-protected videos without the black screen that may occur with standard screen-capture methods.
12. Take Screenshots with Recordit
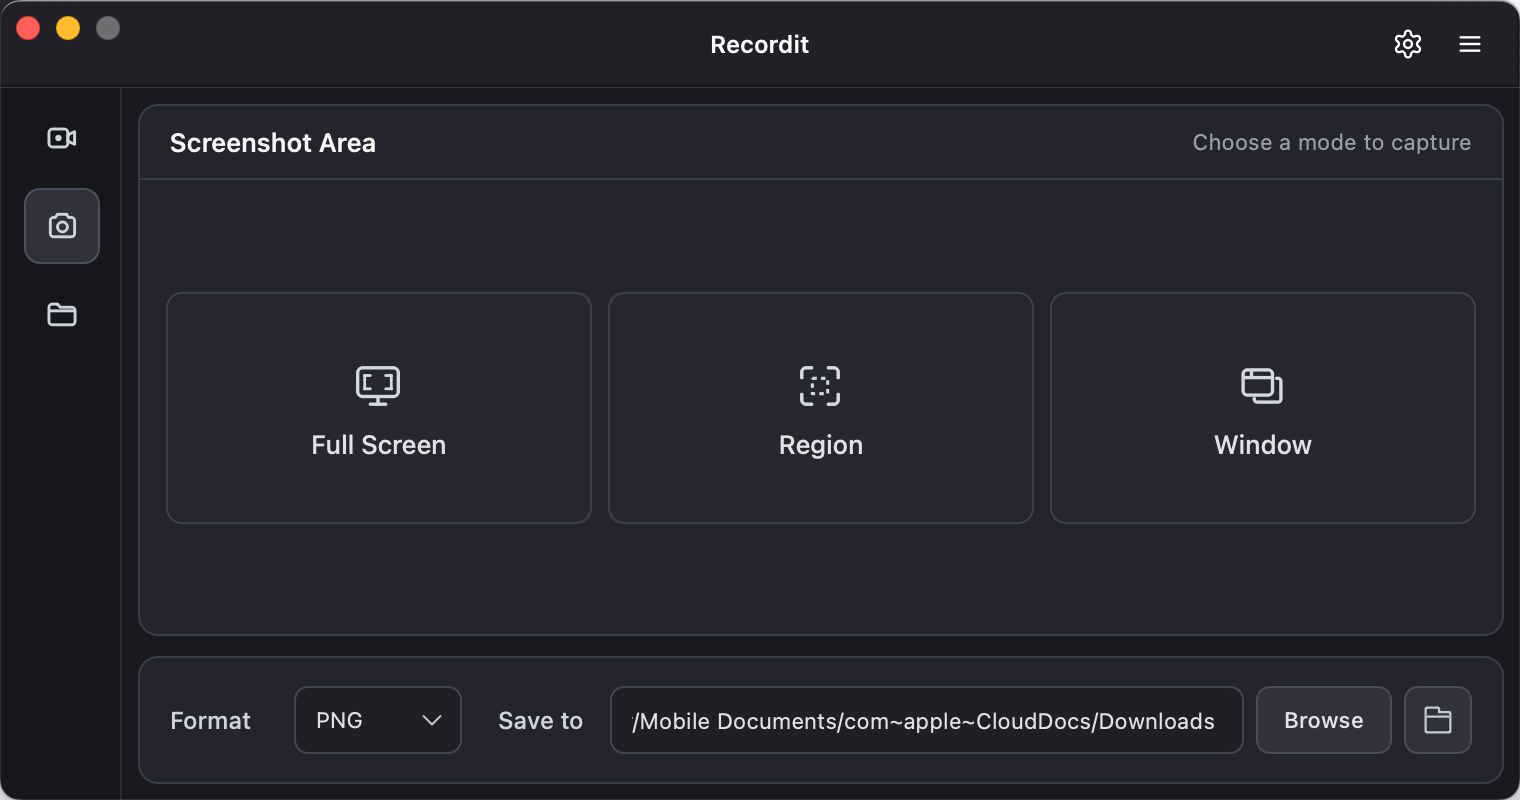
Navigate to the “Screenshot” tab > Select image format and file location > Click and drag to select the portion of your screen you want to capture (just like you would for recording) > Click on the Capture icon and Recordit will save captured screenshot in the destination folder.
13. Find Recordings and Captured Images
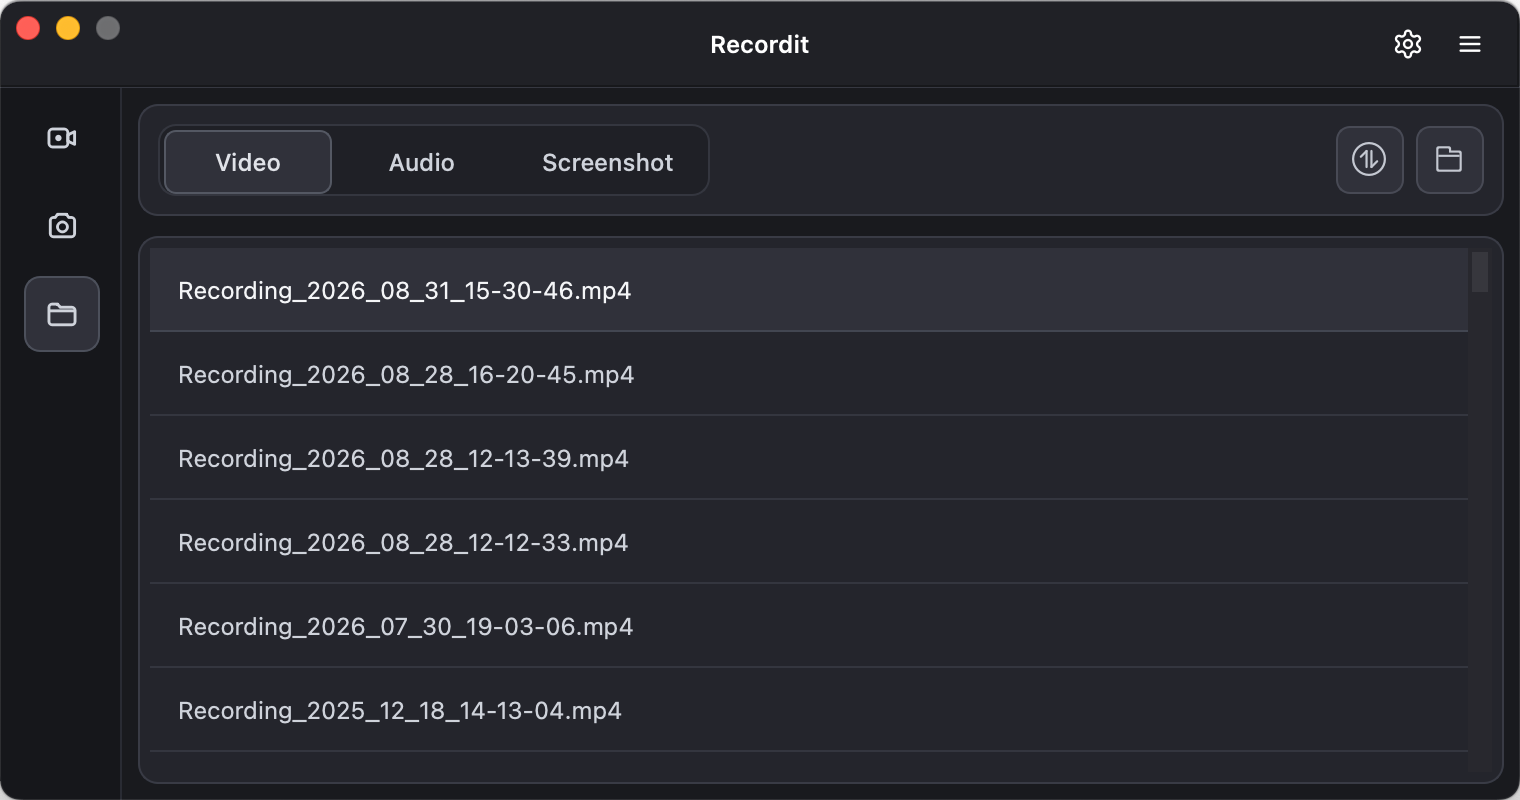
Recordit organizes all your recorded content and captured images in one convenient place – the “Files” tab. You can go to “Files”, click on the “Open folder” icon or double-click the file to open it in local.
14. How to Edit Video Recording?
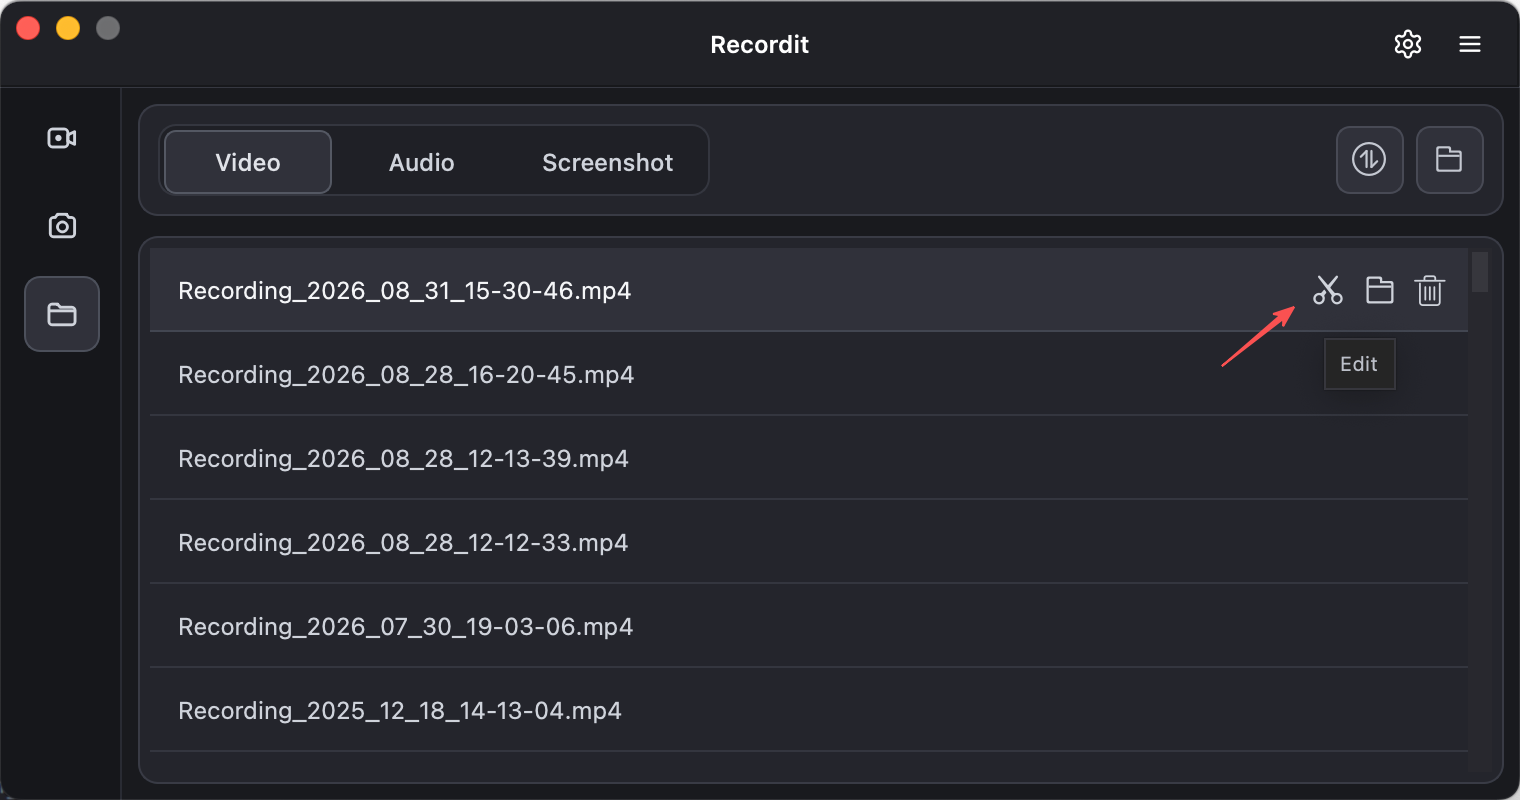
Once you’ve finished recording, you can easily refine and enhance your video using the built-in editor. Follow these steps to edit your recording with precision and style:
1) Open the Recordit Video Editor
After your recording is complete, click the Video Editor icon to open your project in the editing workspace.
2) Resize the Canvas
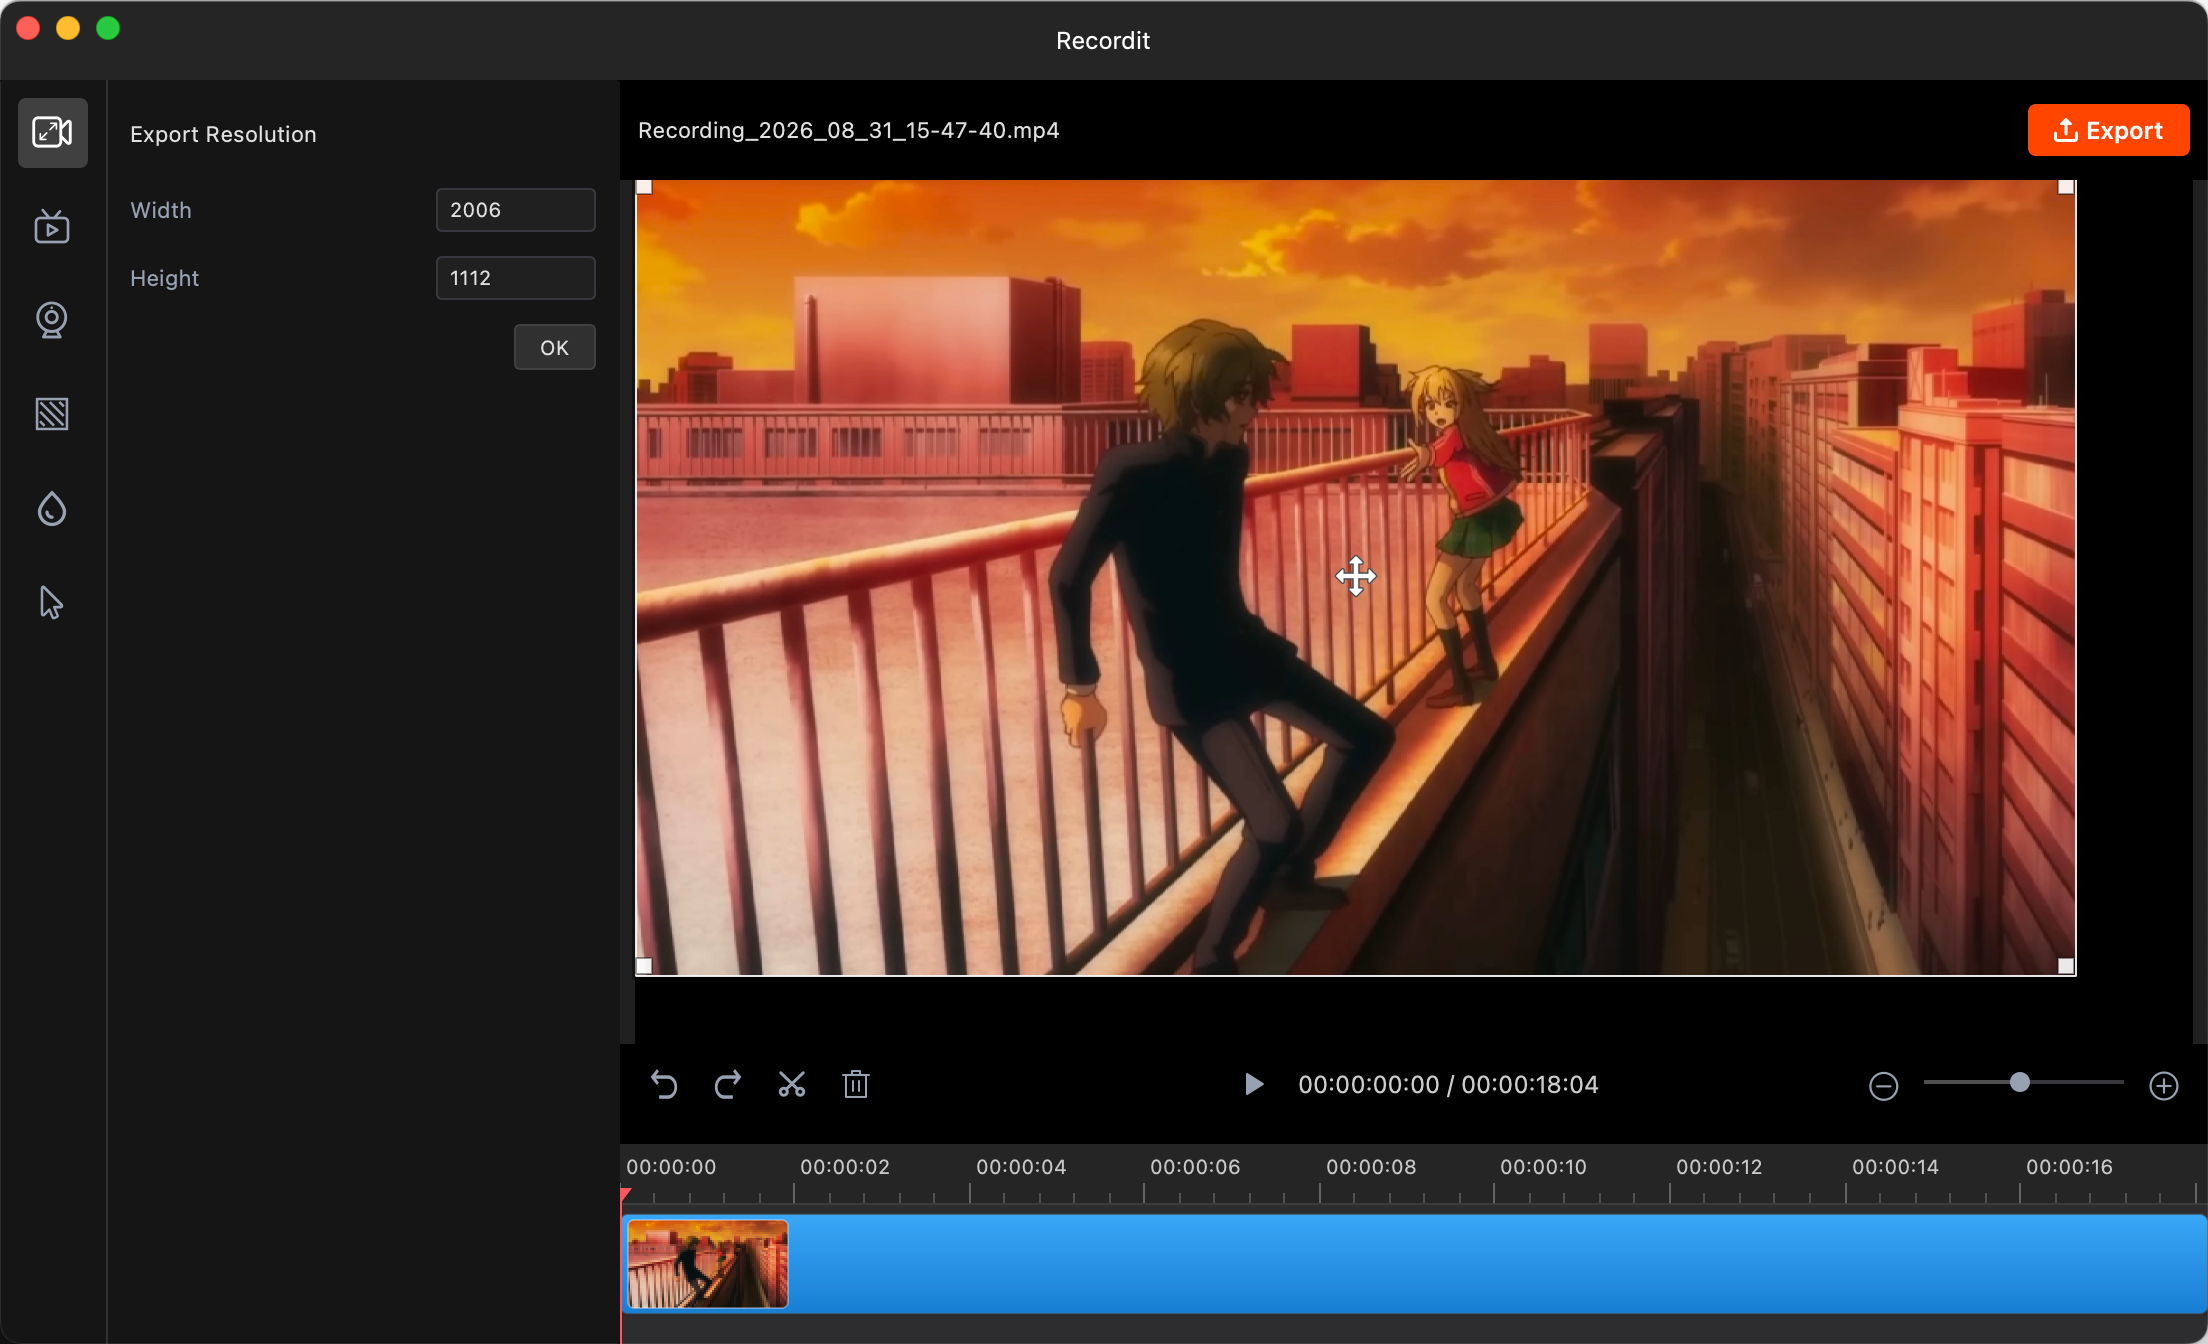
Resize Canvas lets you adjust the overall video frame size without cropping the content, changing the width and height to fit your needs.
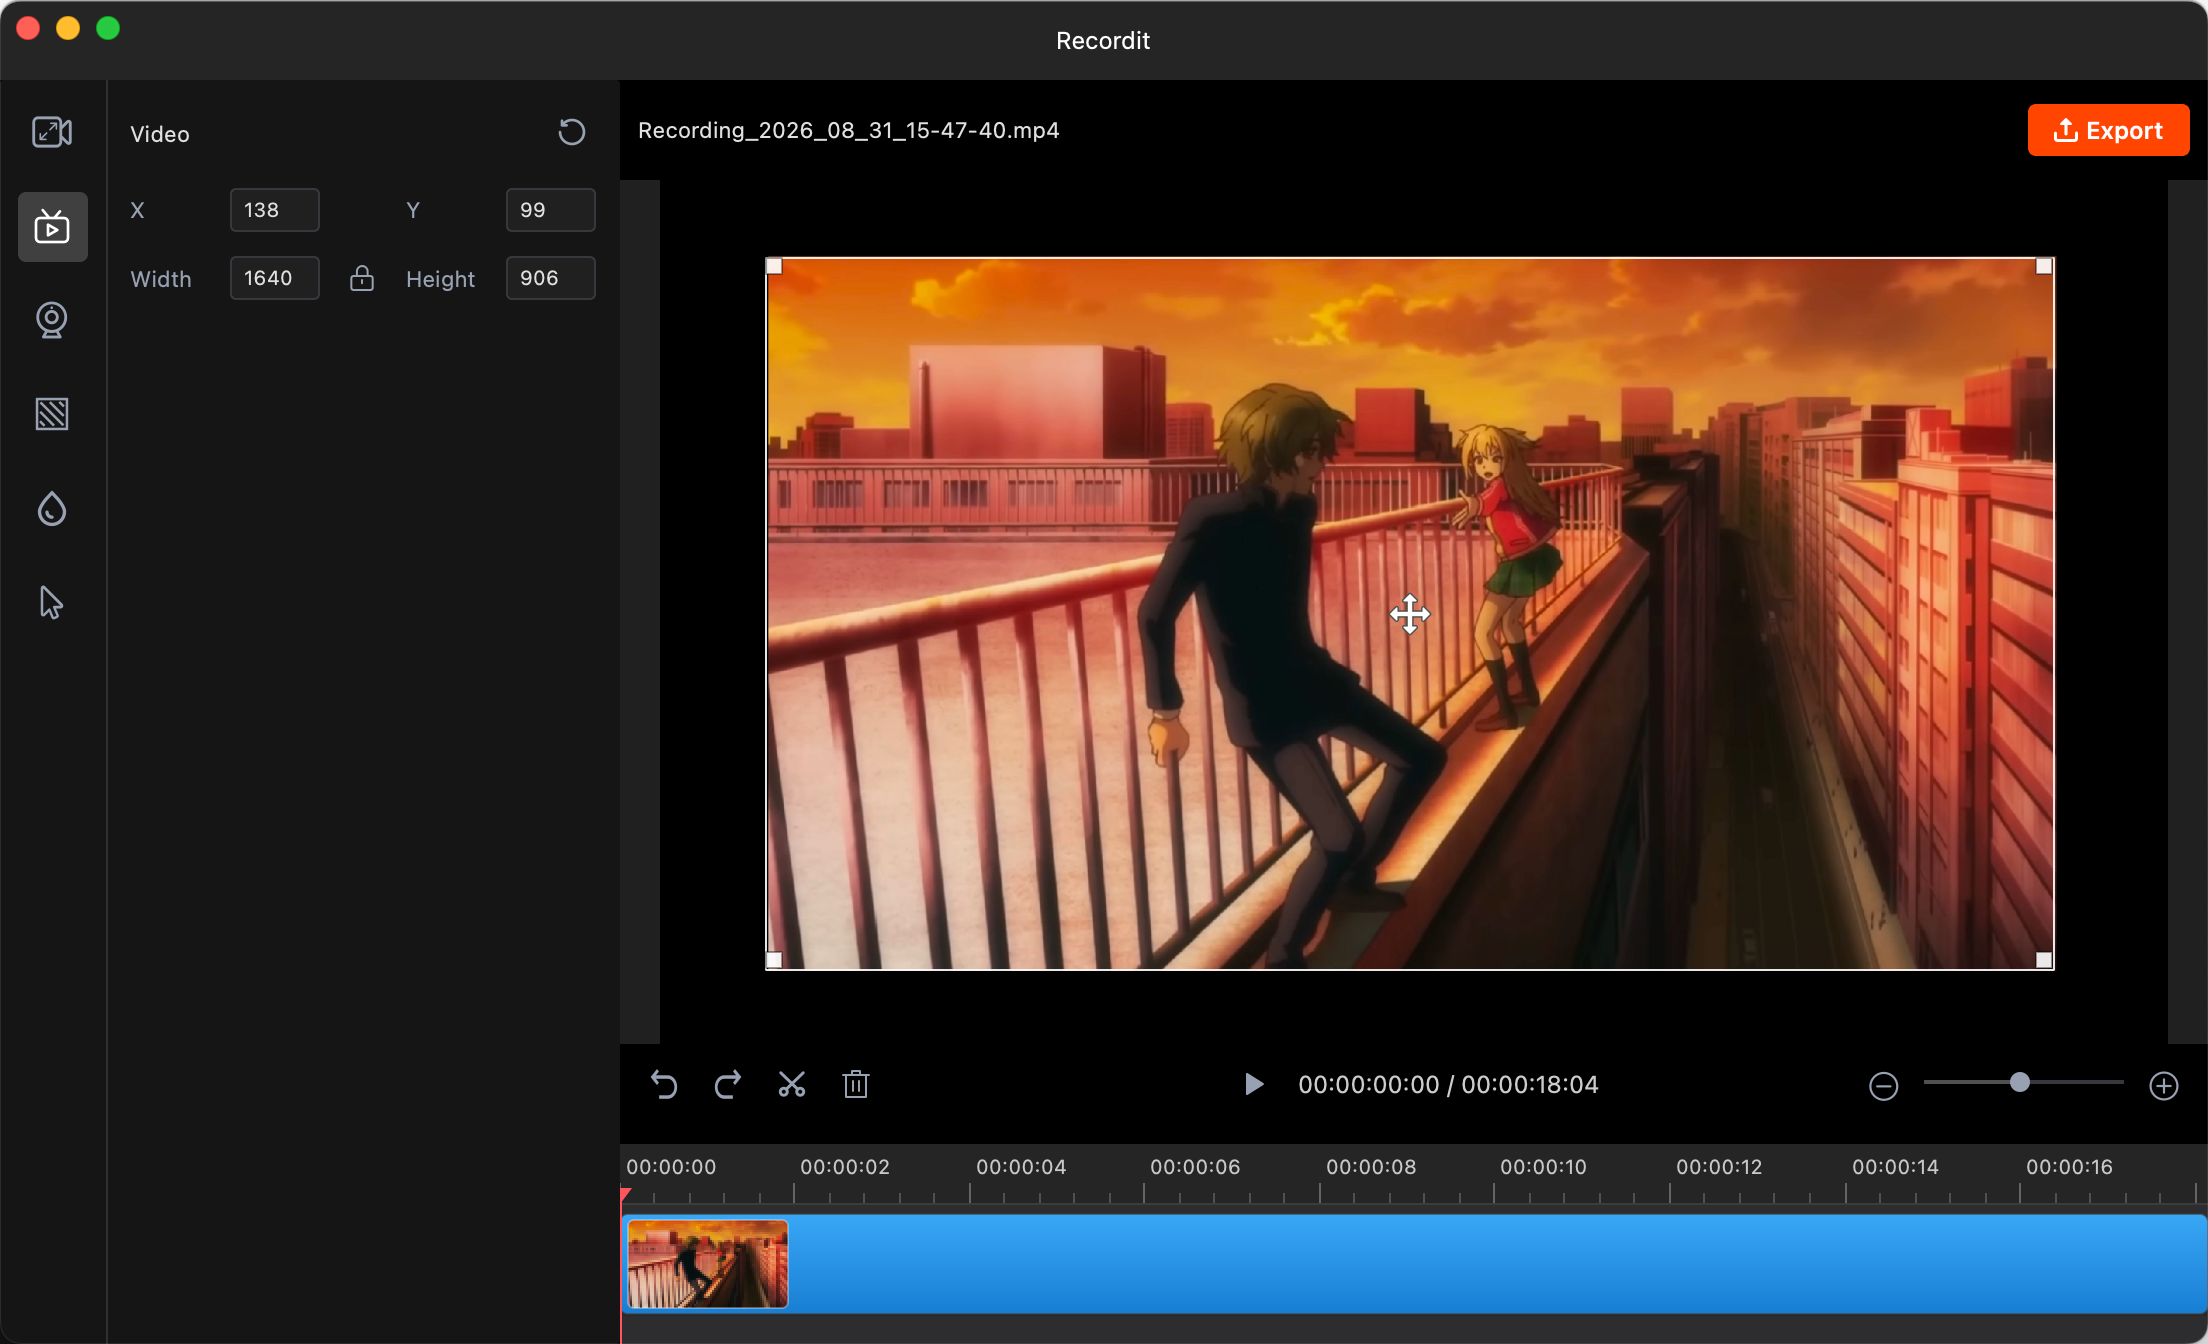
3) Adjust Video
Resize your video and move it within the frame to fit perfectly or align with other elements.
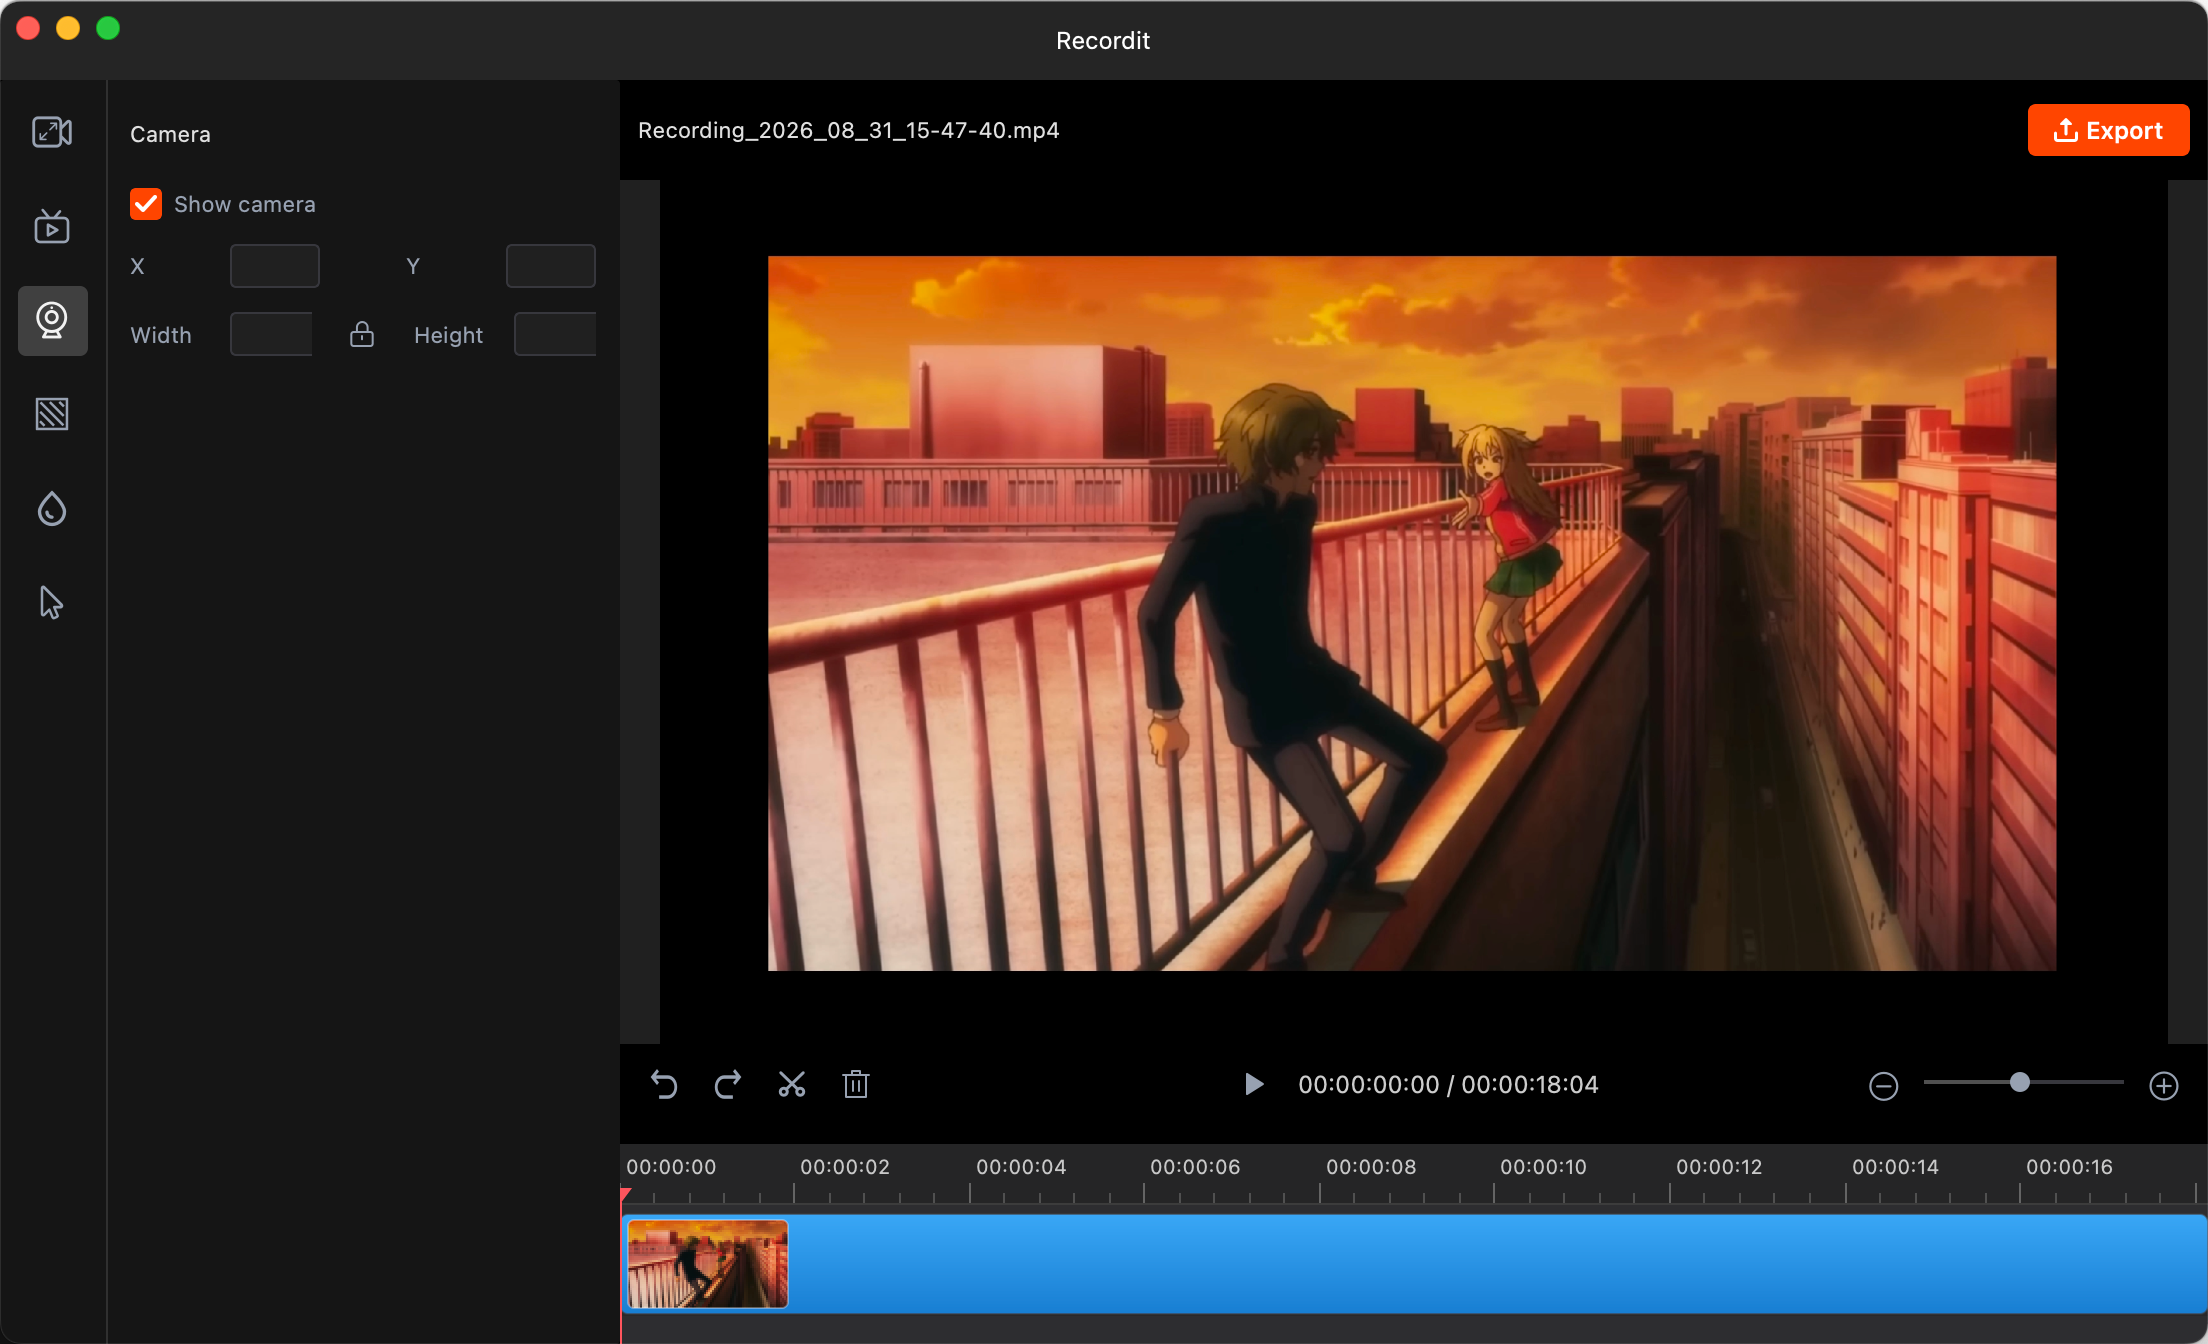
4) Show Camera
Show camera layout to preview how your webcam appears in the video, such as picture-in-picture or side-by-side.
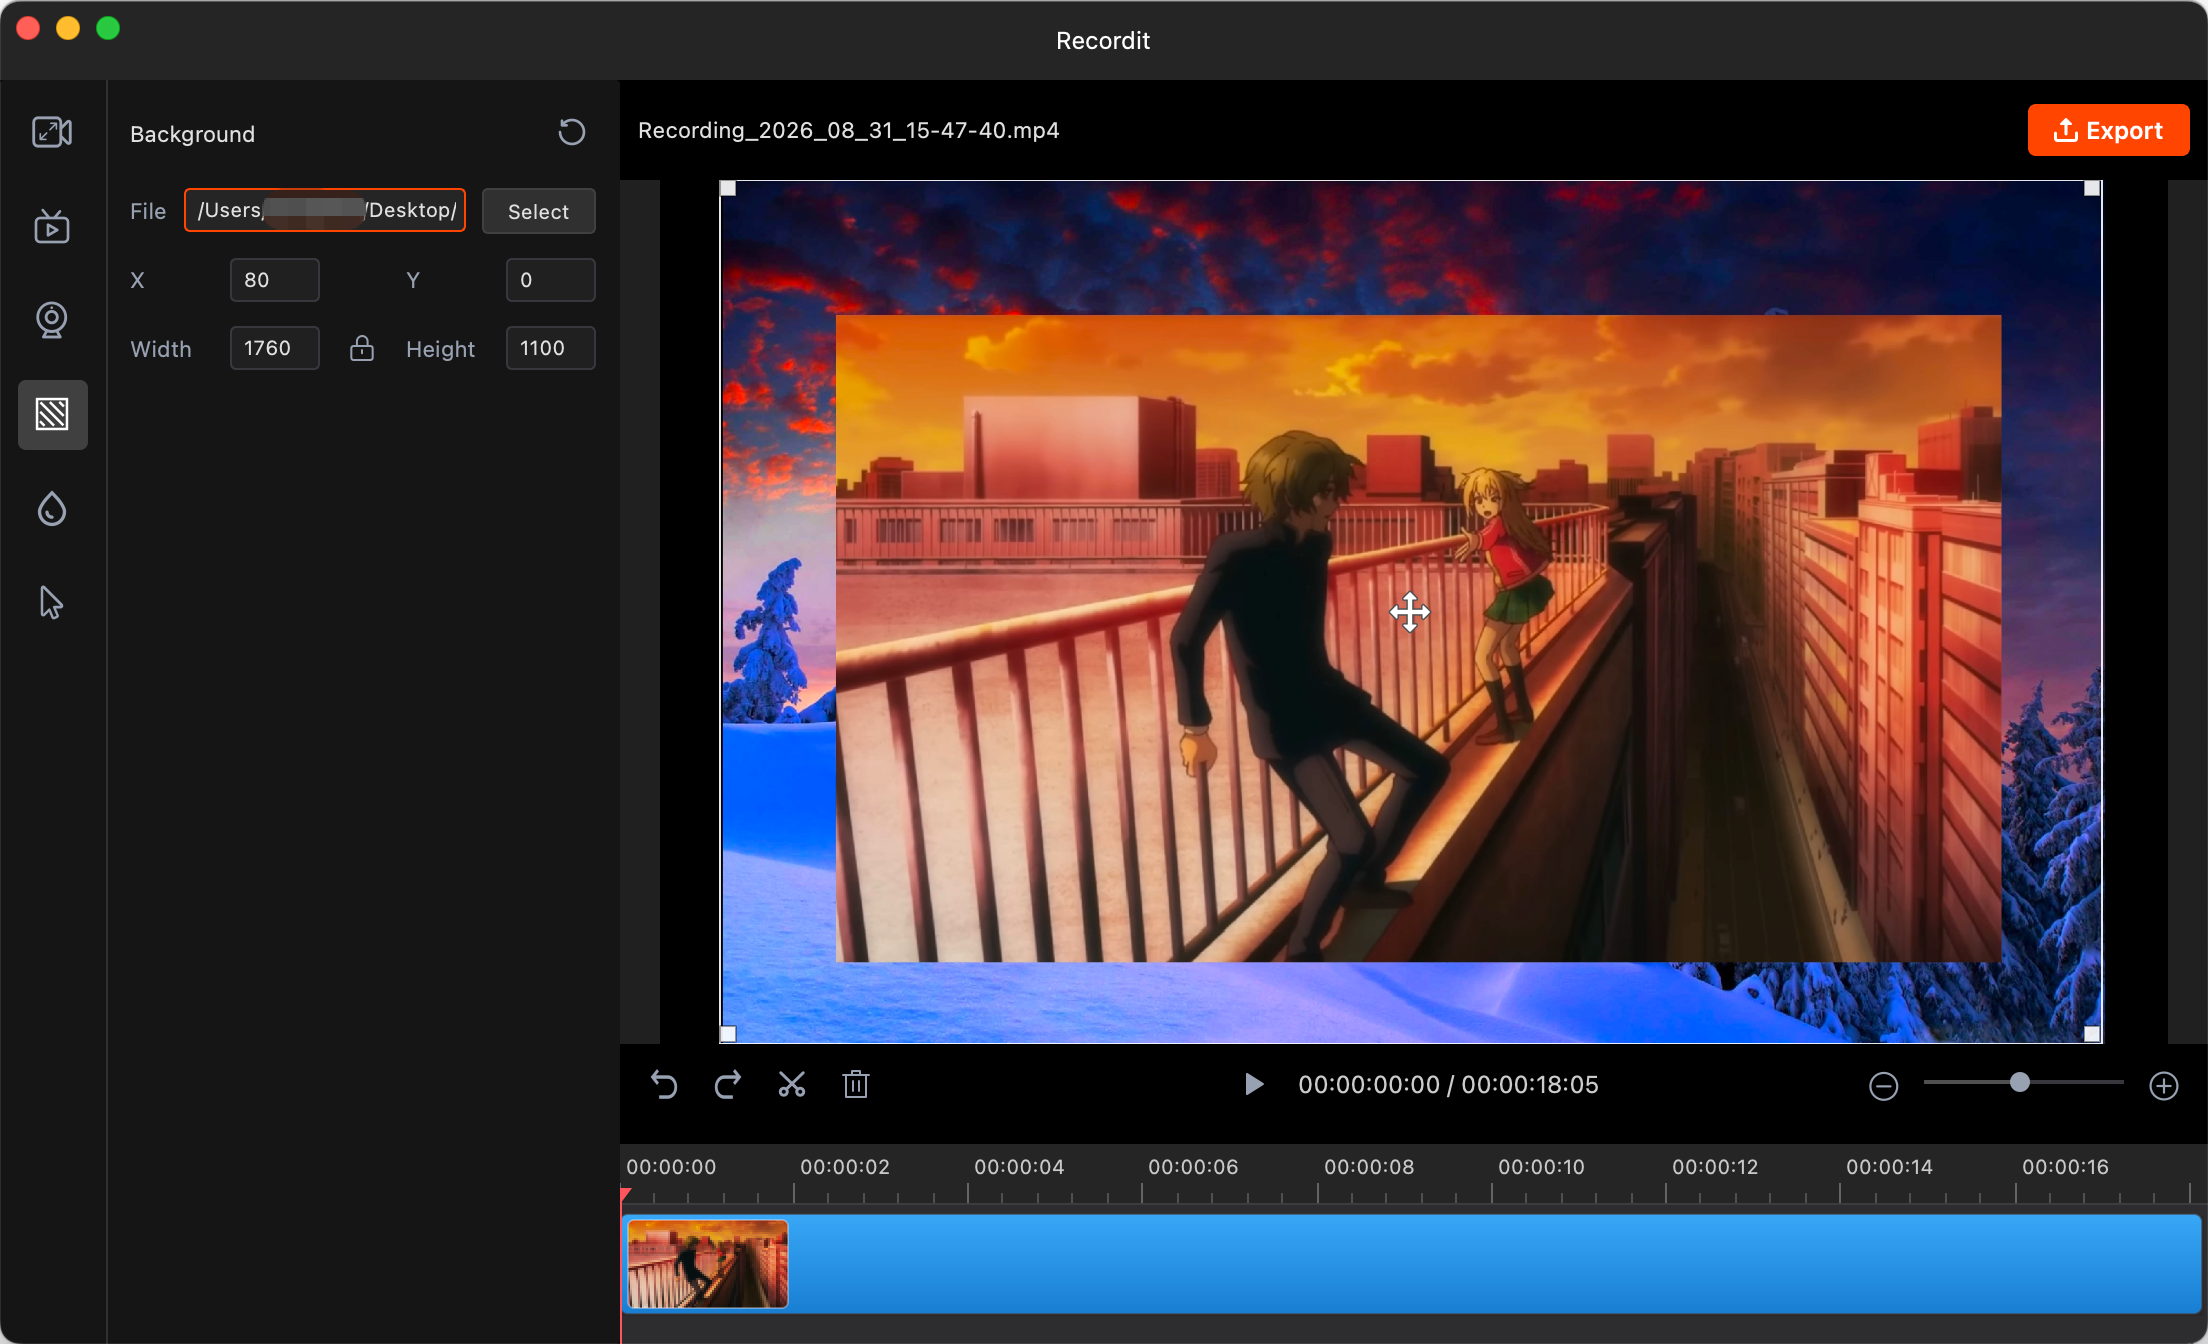
5) Add a Background
Add a background lets you place a custom image behind screen recording, enhancing visuals or creating a professional look.
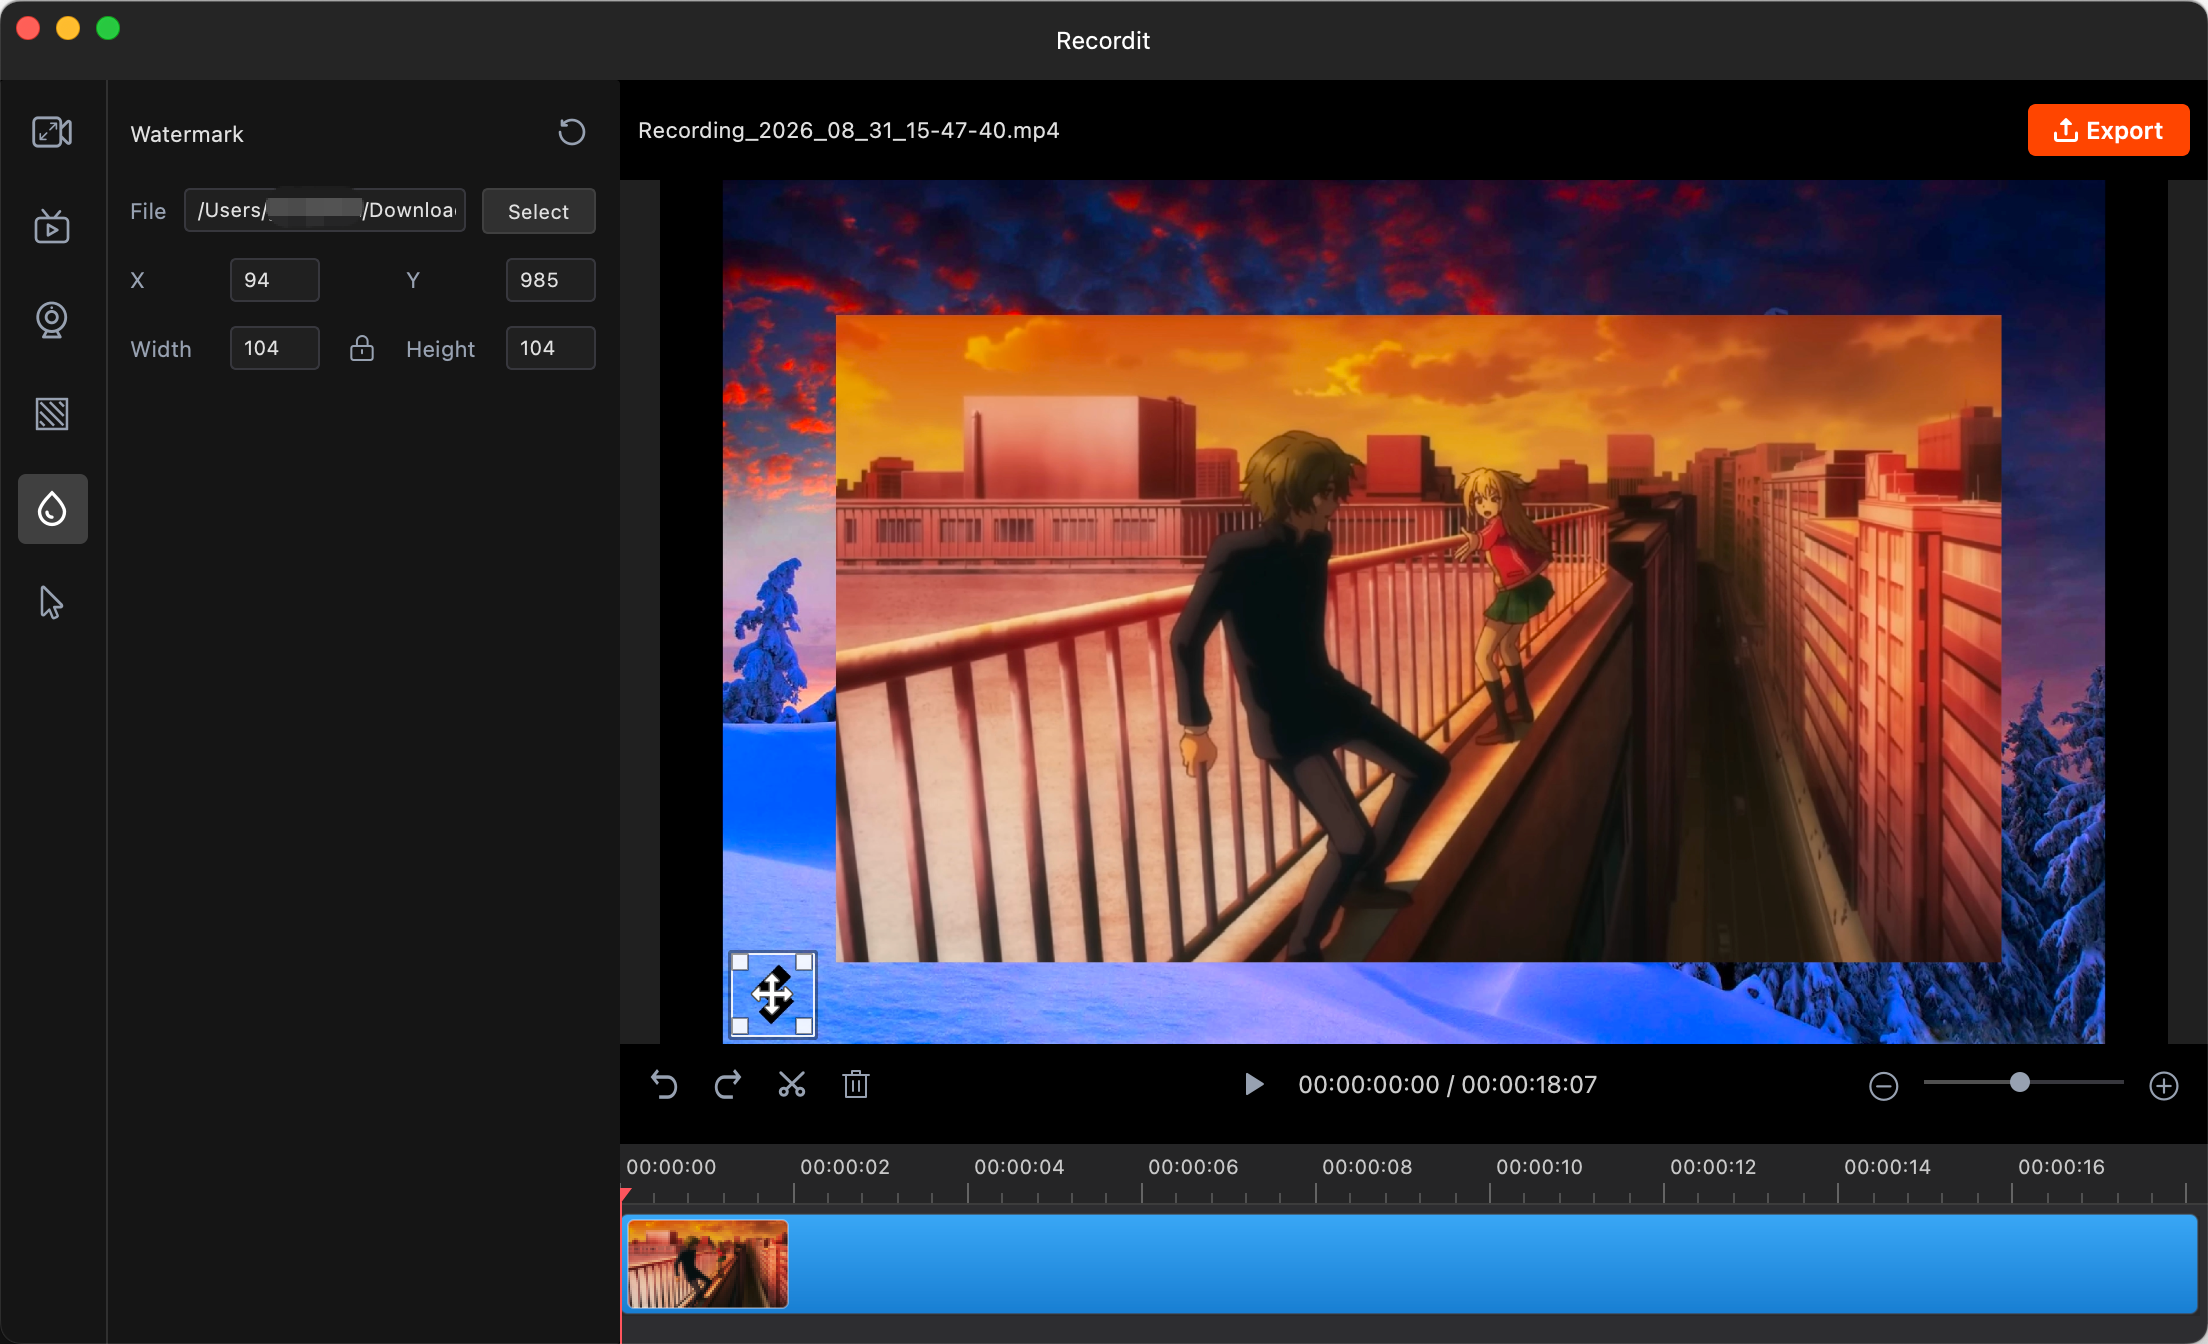
6) Add a Watermark
Add Watermark lets you place a logo or image on your video to protect content or brand it, ensuring it appears throughout the recording or at specified positions.
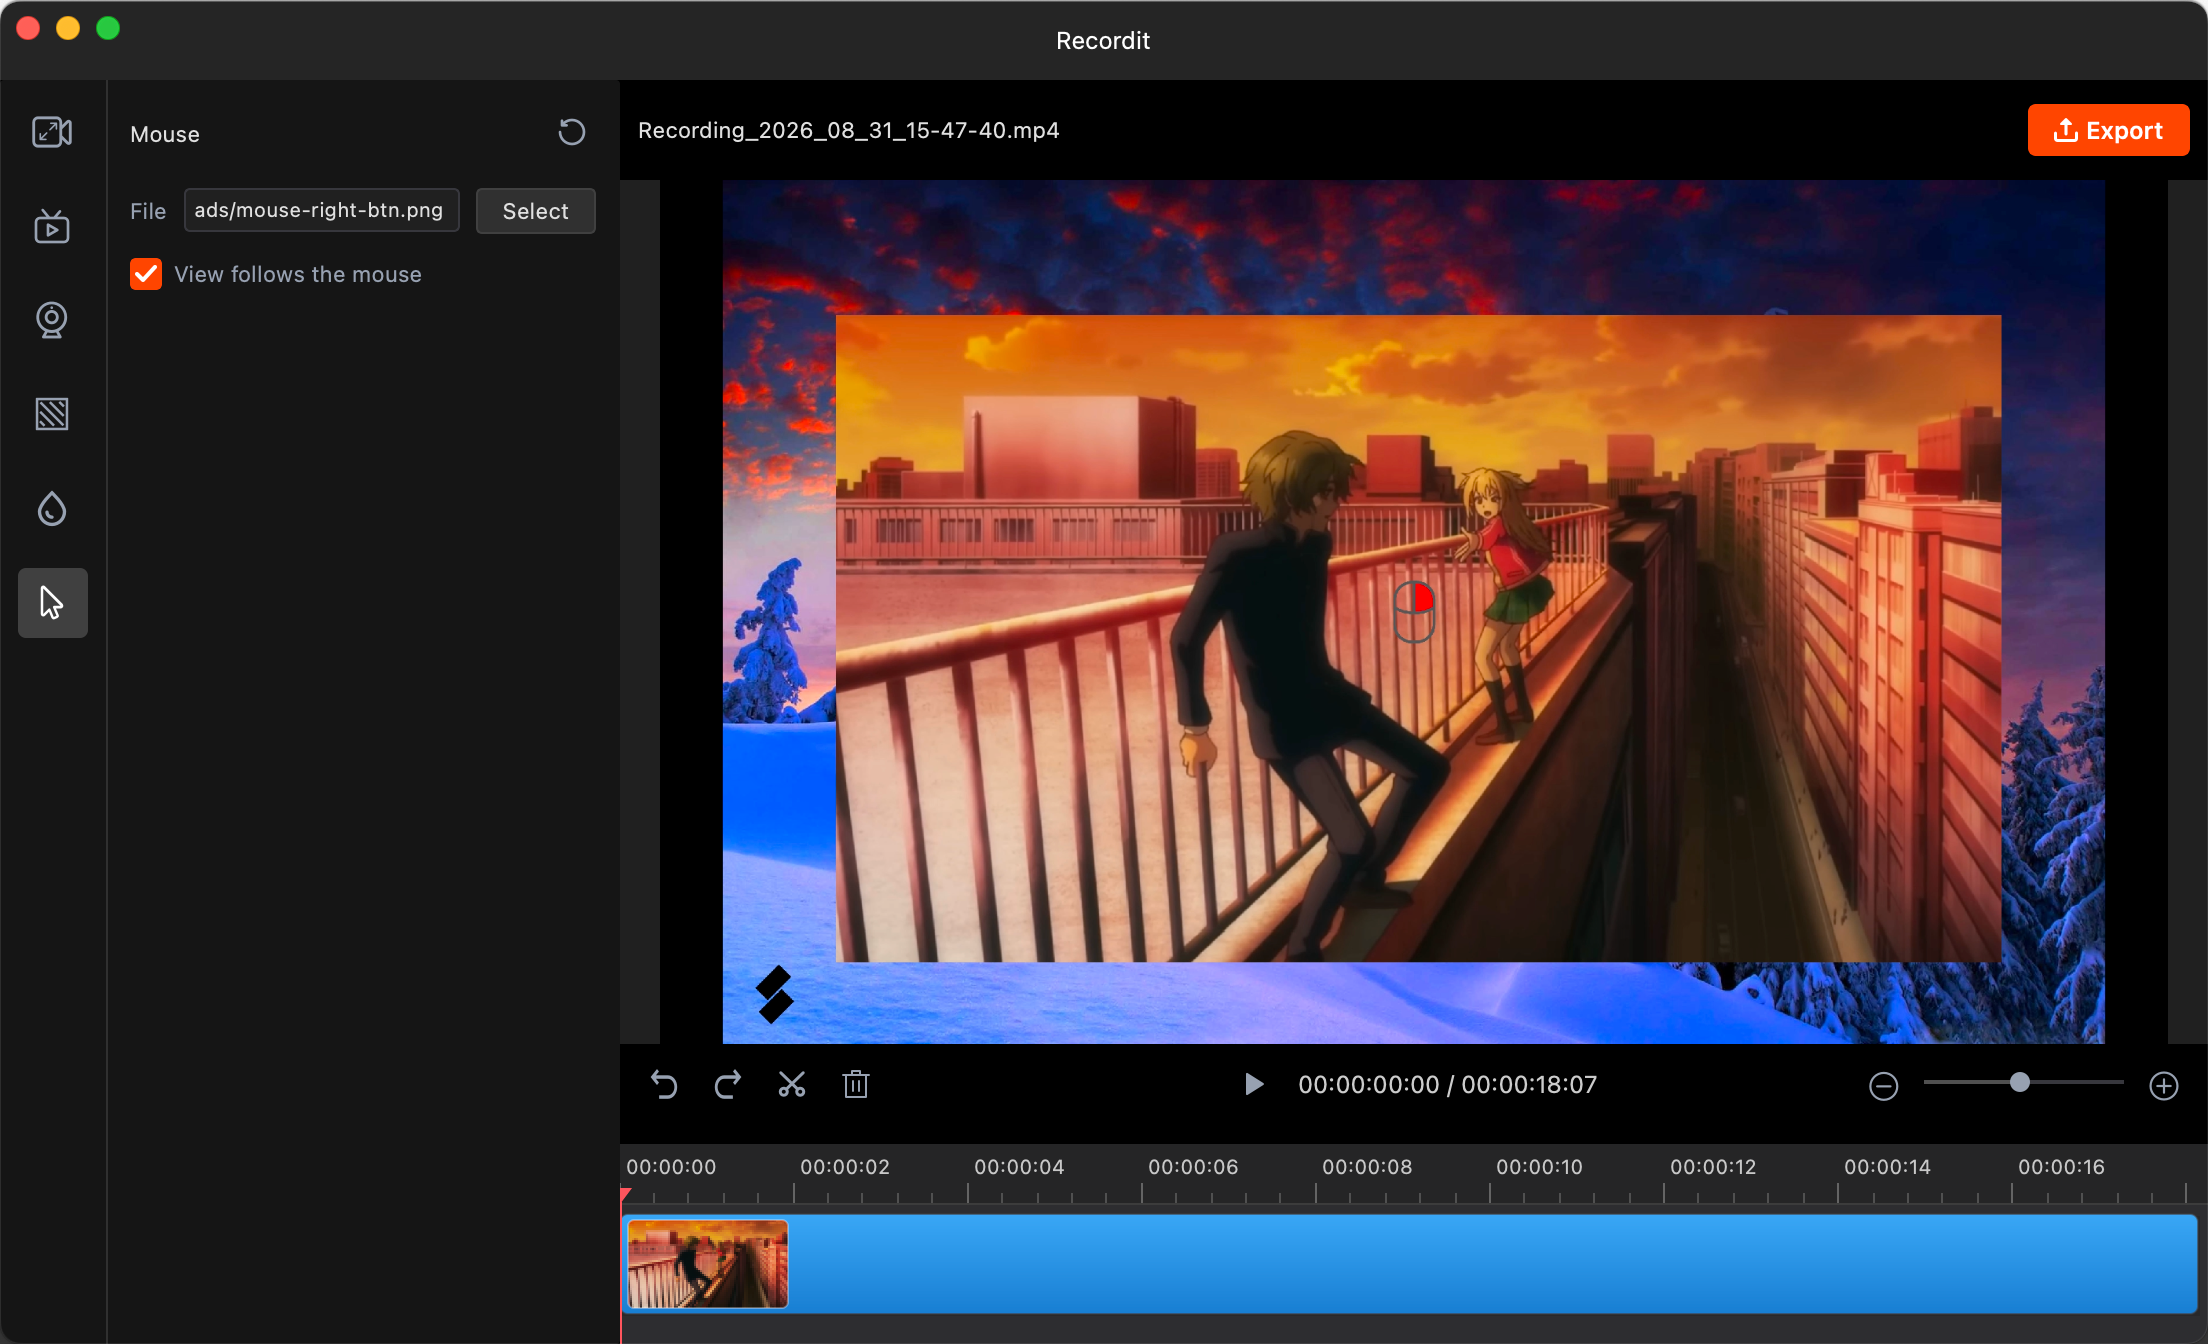
7) Add a Mouse Image
Add a mouse image and enable “view follows the mouse” to show a cursor graphic and have the recording frame track your mouse movements for easier focus and clarity.
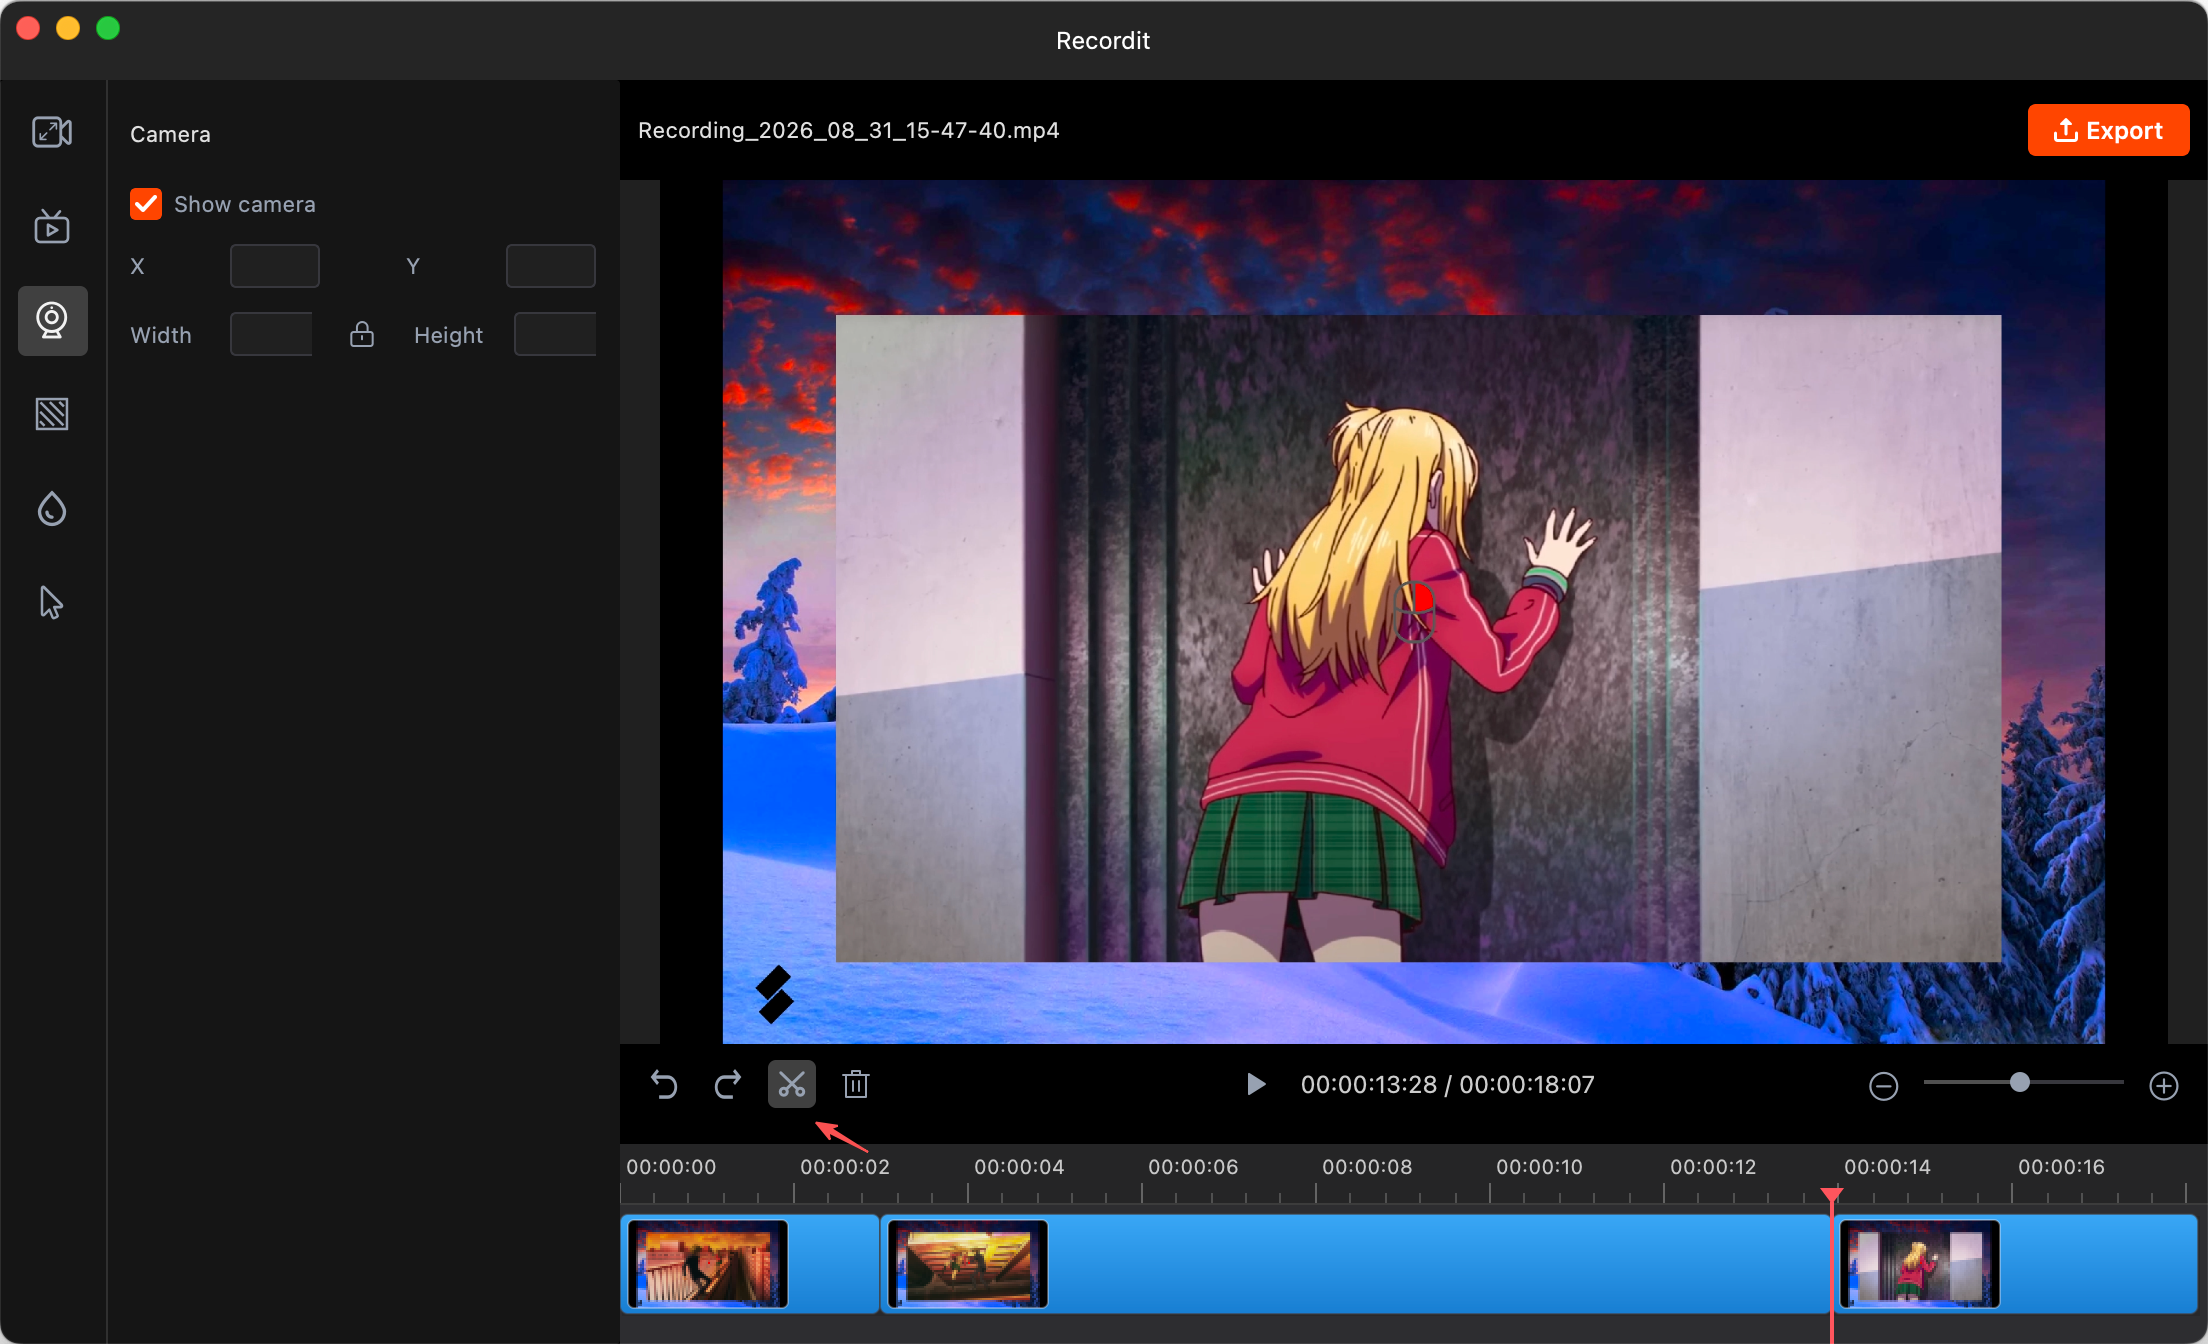
8) Cut Video
Cut Video lets you trim or remove unwanted sections from your recording to keep only the parts you need.
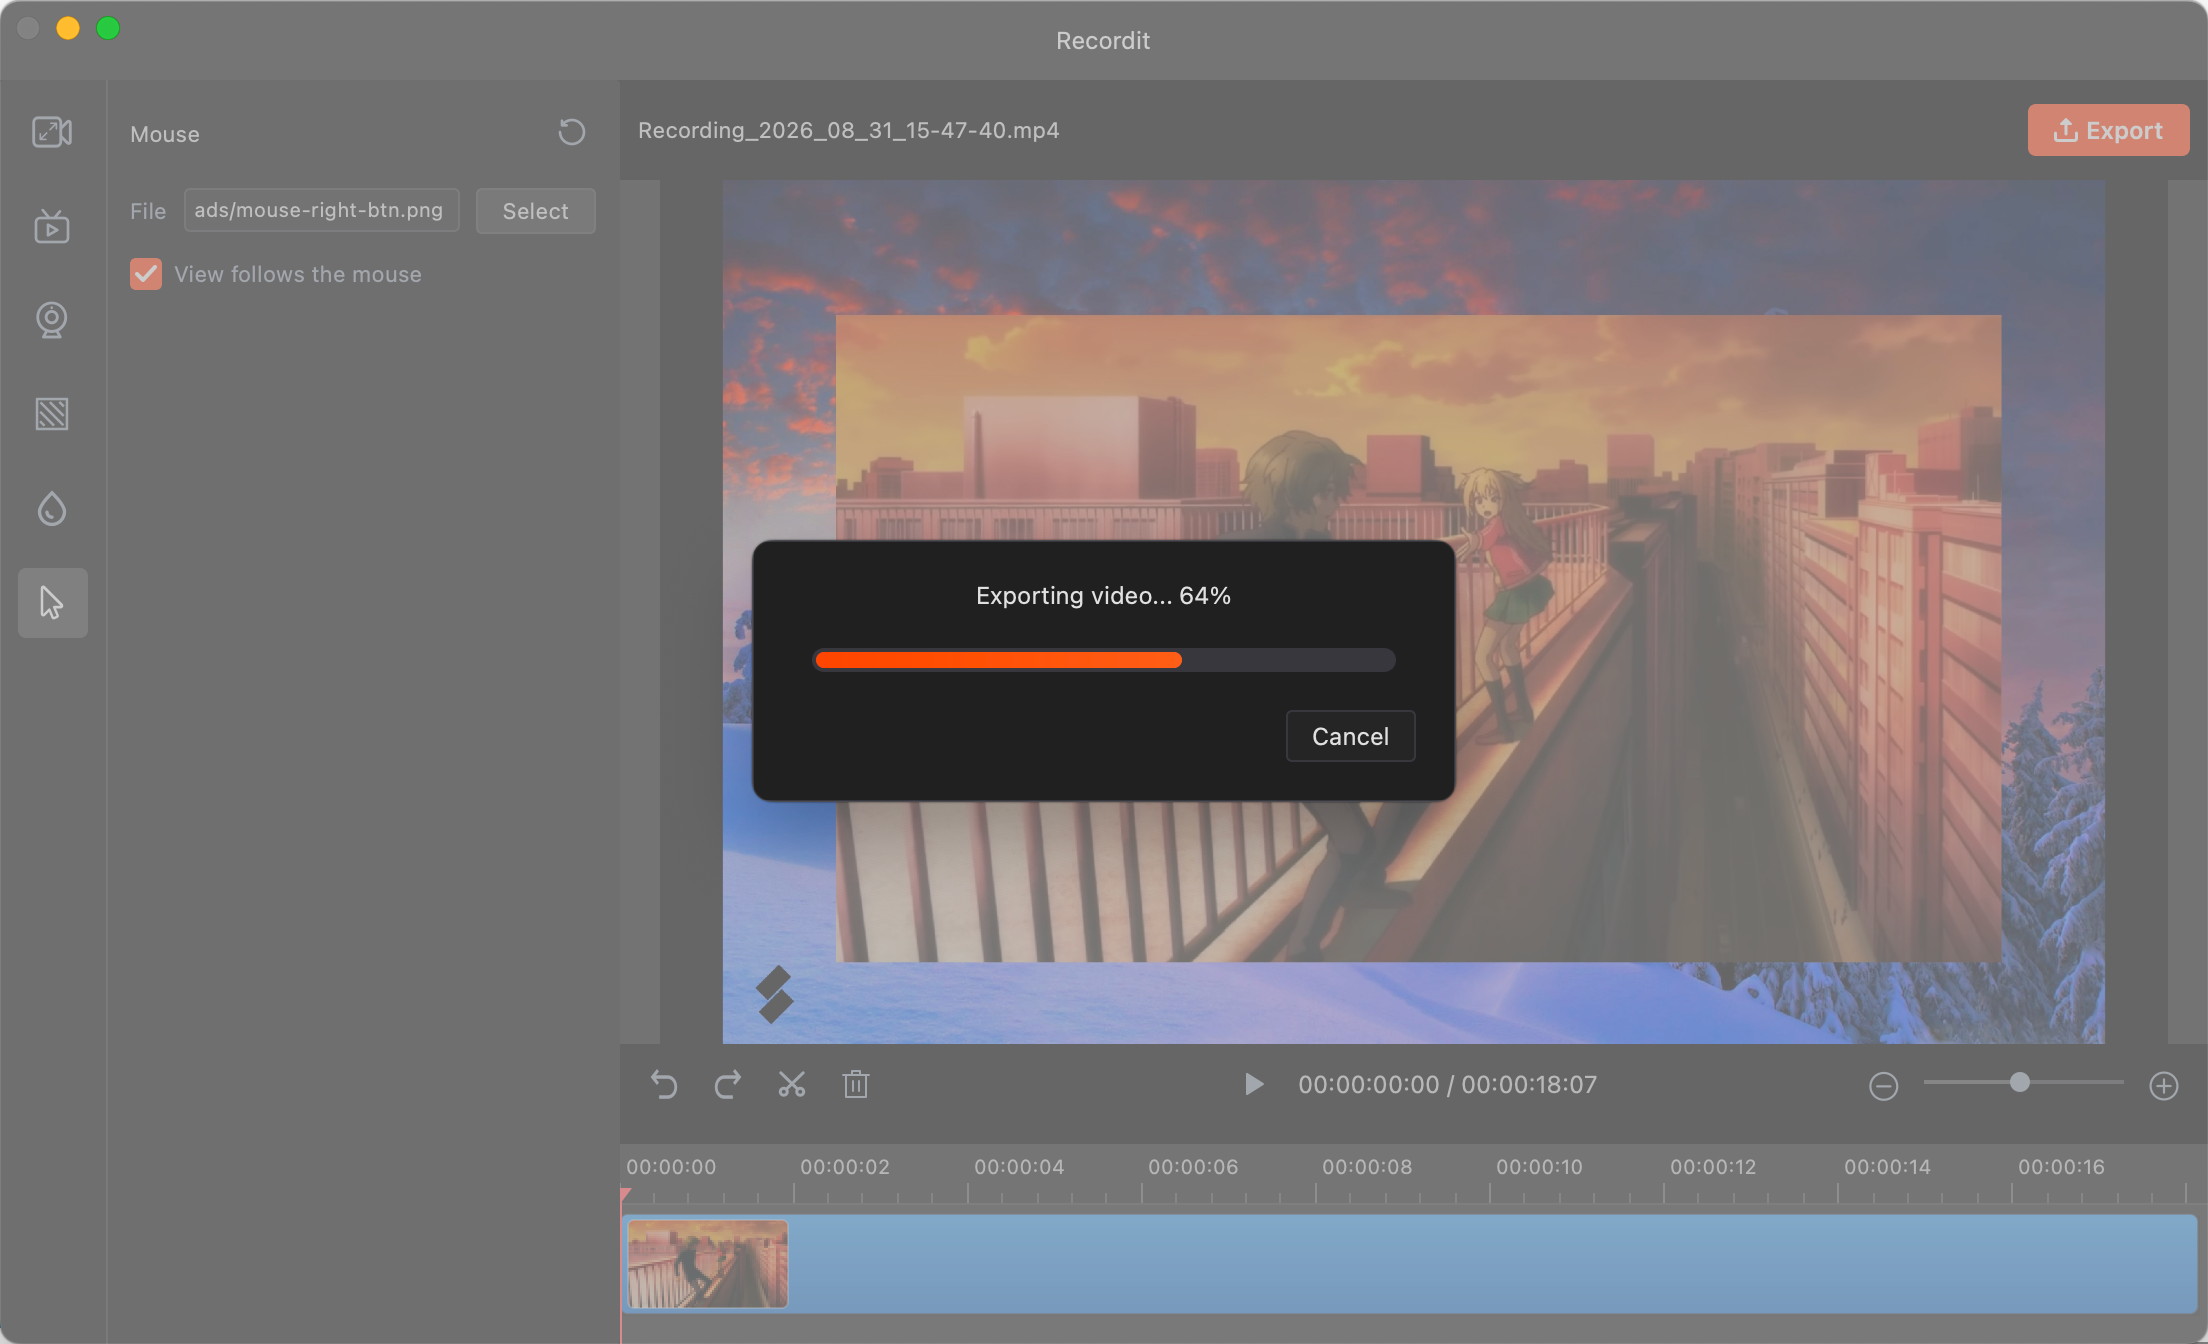
9) Export the Edited Video
When you’re happy with your edits, click Export.
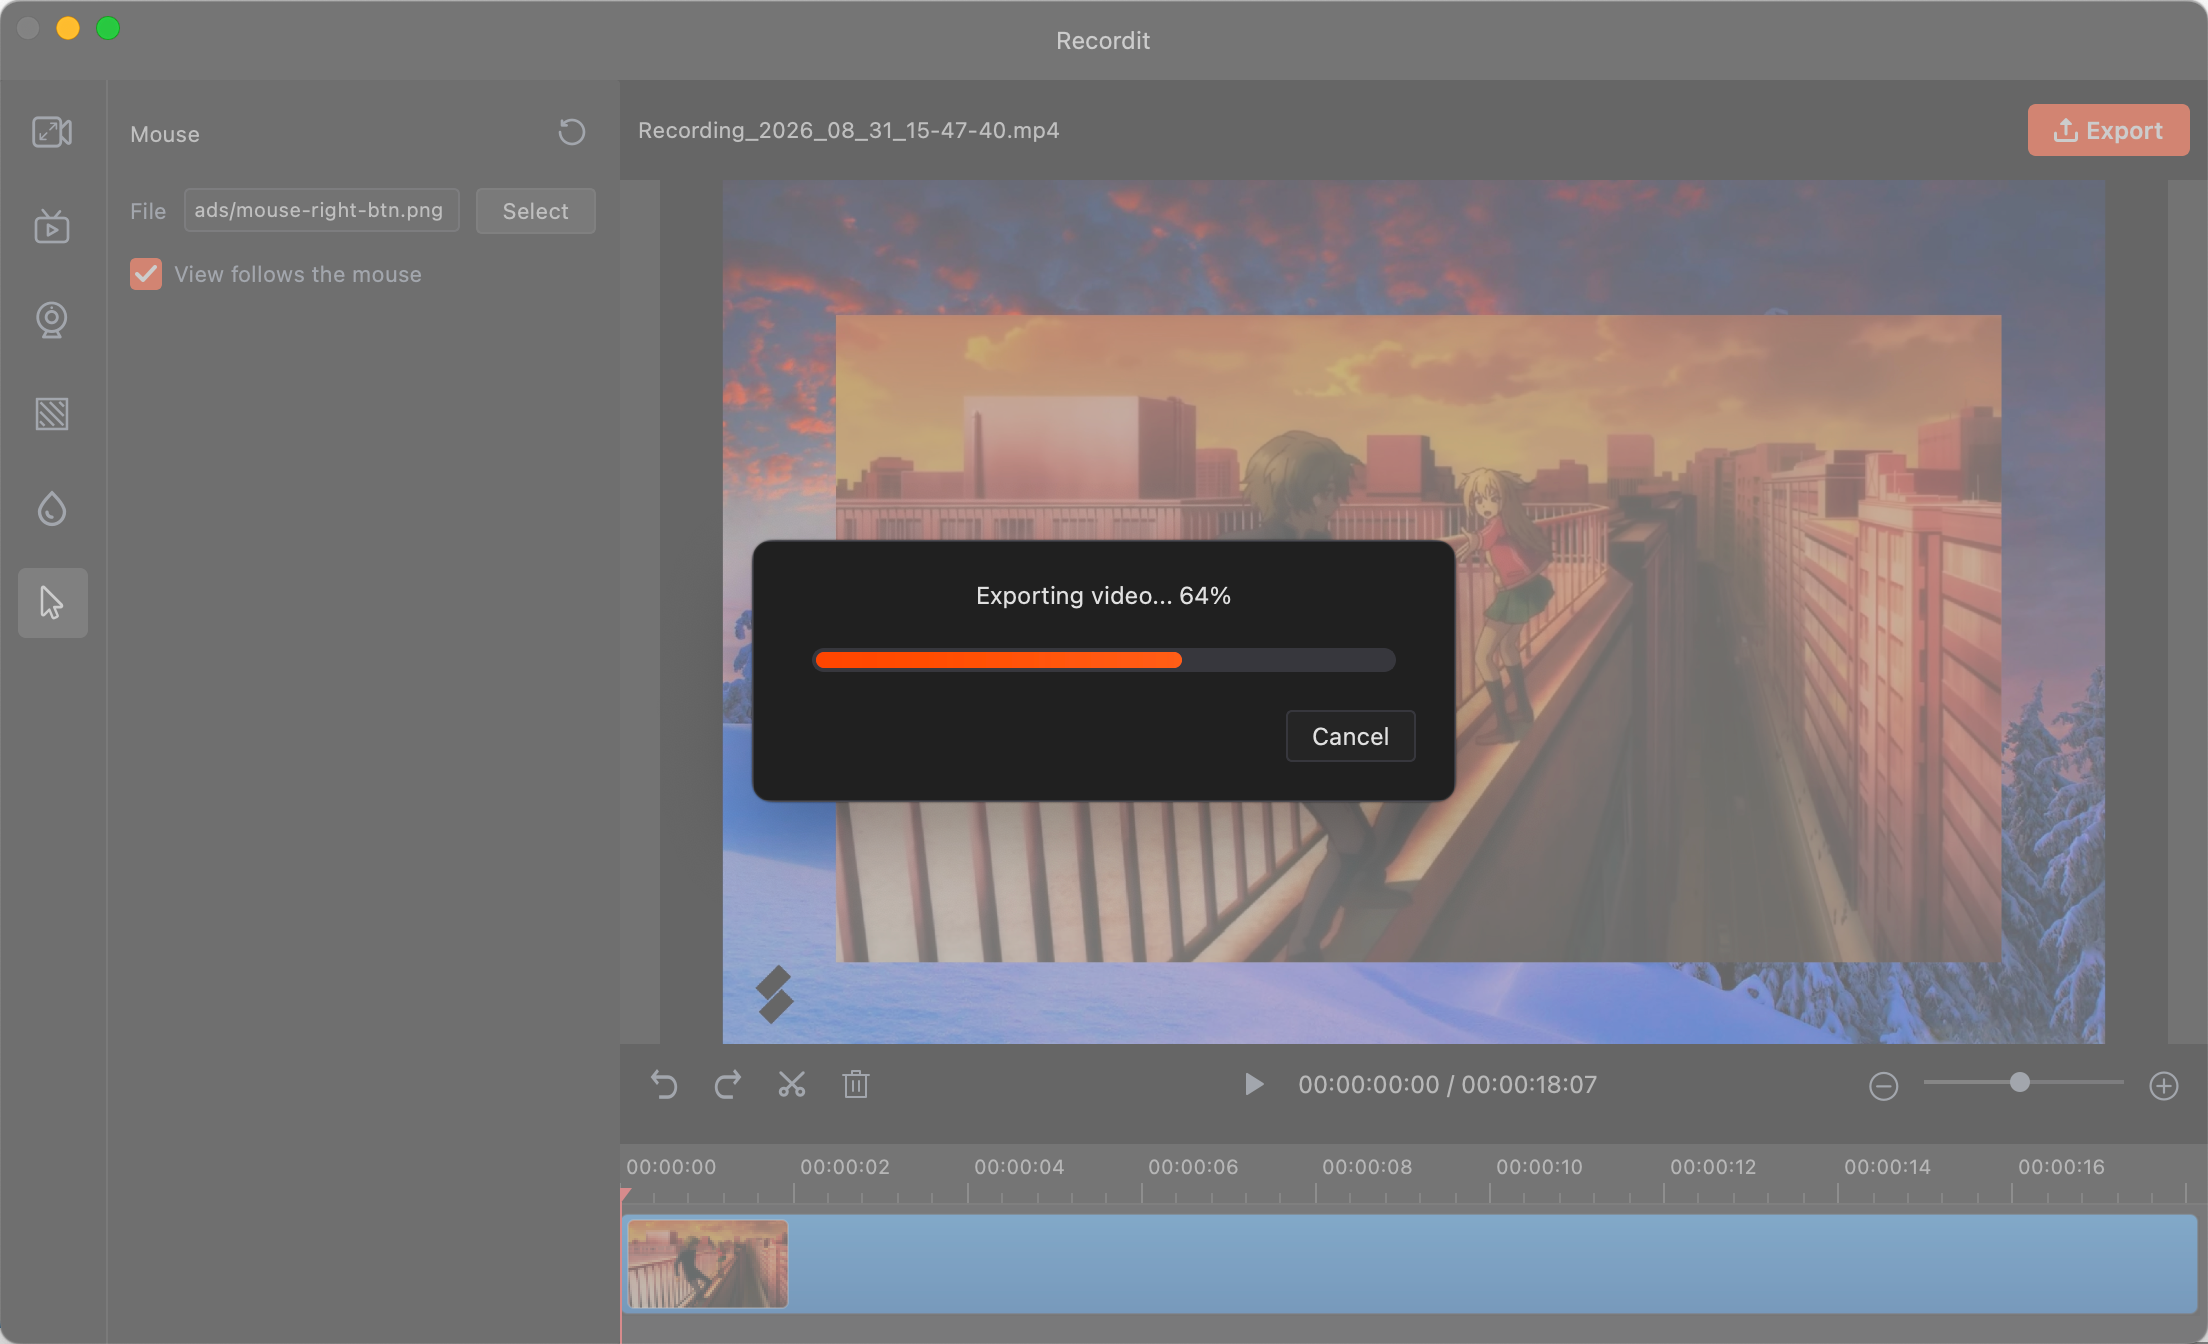
10) Check Exported Recording
Once finished, Recordit will notify you and you can open it on your device.
15. More FAQs
1) Can I change the save location for my recordings?
Yes, Recordit allows to choose a specific folder for each recording session, but please make sure that you have the administrator rights to create a folder on the local disk.
2) What should I do when capturing a black screen?
If you meet the black screen issues, try to resolve with these solutions >>>
3) How long can I record with Recordit?
- Free version: Up to 10 minutes per recording.
- Paid version: Offers longer recording time (unlimited length).
4) Can I annotate my screen while recording with Recordit?
Yes, Recordit offers the drawing tool to help you to annotate during recording.
5) Does Recordit consume a lot of CPU or RAM?
No, Recordit is designed to be lightweight and minimal. It typically uses very little CPU and RAM during basic operation, especially when:
- Recording small regions of the screen
- Capturing slower screen activity (like static UI or mouse movement)